Laszlo Moholy-Nagy
Laszlo Moholy-Nagy was a Hungarian photographer and painter. He was influenced by constructivism, and was a professor at the Bauhaus school. He founded the Chicago School of Design, which many famous and influential artists attended, such as Richard Nickel and Ray Metzker. Laszlo Moholy-Nagy initially wanted to be a lawyer, and studied law at the University of Budapest. In 1915, he enlisted in the Austro-Hungarian army. In 1917, he was injured on the Russian front. When he returned from war, he abandoned his ambitions to be a lawyer, and instead wanted too become an artist. He later moved to Chicago to become the director of the New Bauhaus.
Christian Schad
Christian Schad is a painter who was born is Miesbach, Germany and was inspired by the Dada and New objectivity movement. Many of his paintings depict life in Vienna and Berlin, in the years after World War I. At this time, there was extreme poverty in most of Europe, especially in the countries on the side of Germany in the war. This poverty and poor standard of life was reflected in his paintings, sowing the suffering of some people, often portraying very thin figures, who are close to starving. During his stay in Italy, he was inspired by photorealism and realistic styles of painting, whereas before his visit, he was more inspired by Cubism and Futurism. He later moved away from these styles and leaned towards a more realistic, yet surreal style, depicting the horror of the years after the war.
Man Ray
Man Ray was born is Pennsylvania, and later relocated to Paris, where he spent most of his career. He was most well known for his fashion photography, however, he later moved on to painting and photograms. Whilst he was interested in contemporary avnt- grade art, he found it difficult to incorporate into his own work, and a result of thisHe was involved in the Dada and Surrealist movements. After not selling any of his paintings at his first exhibition, he turned to photography in order to make a living. Whilst working on photography, he not only refined the process of photograms, he also developed a process,, where he would expose the photo paper to light whilst printing, creating portraits which a 'halo' effect.
Film Developing
The hardest part of developing the film is opening the canister, and loading it on the spool, in total darkness. The film can then be placed into the container which does not let any light reach the film, yet it lets the developer pour chemicals in. First, water is poured in the container, so the silver layer on the film swells. The developer is then poured in, and converts the film into small particles of metallic silver. The stop solution can then be poured in, so that the chemical reaction stops. Finally, the fixer is poured in, this makes the images permanent, if to left in for the right amount of time, the photographs will not last forever. After this, the film can be taken out of the container, and hung up to dry.
The journey project digital-
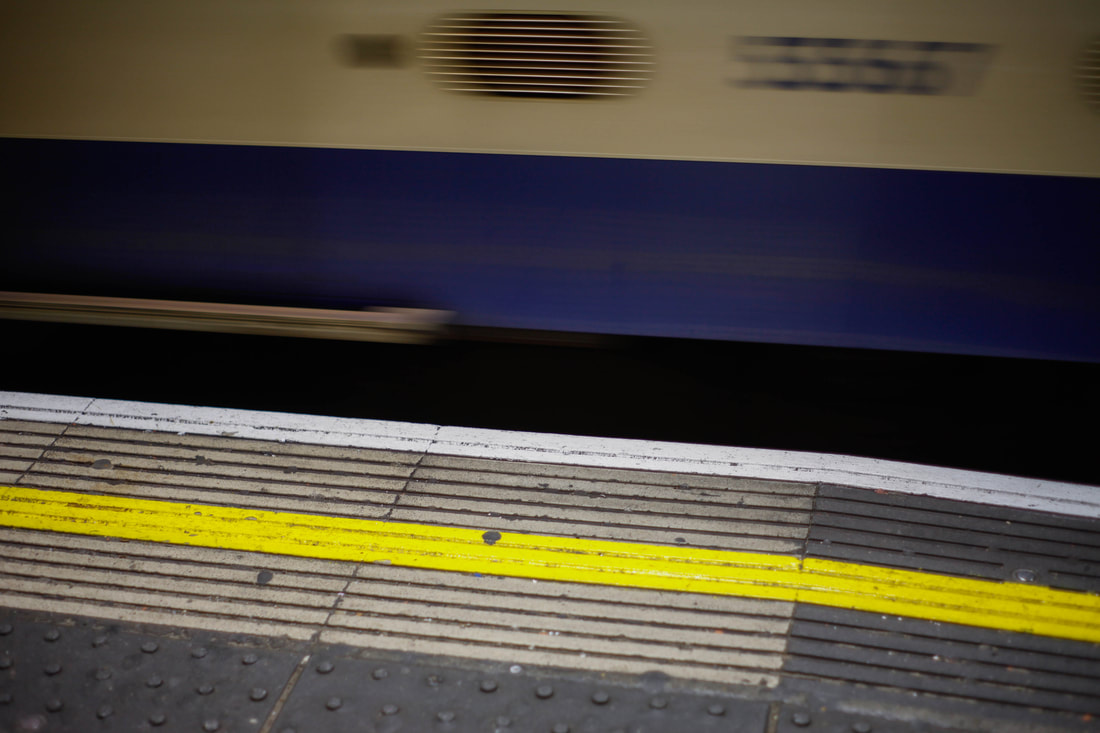
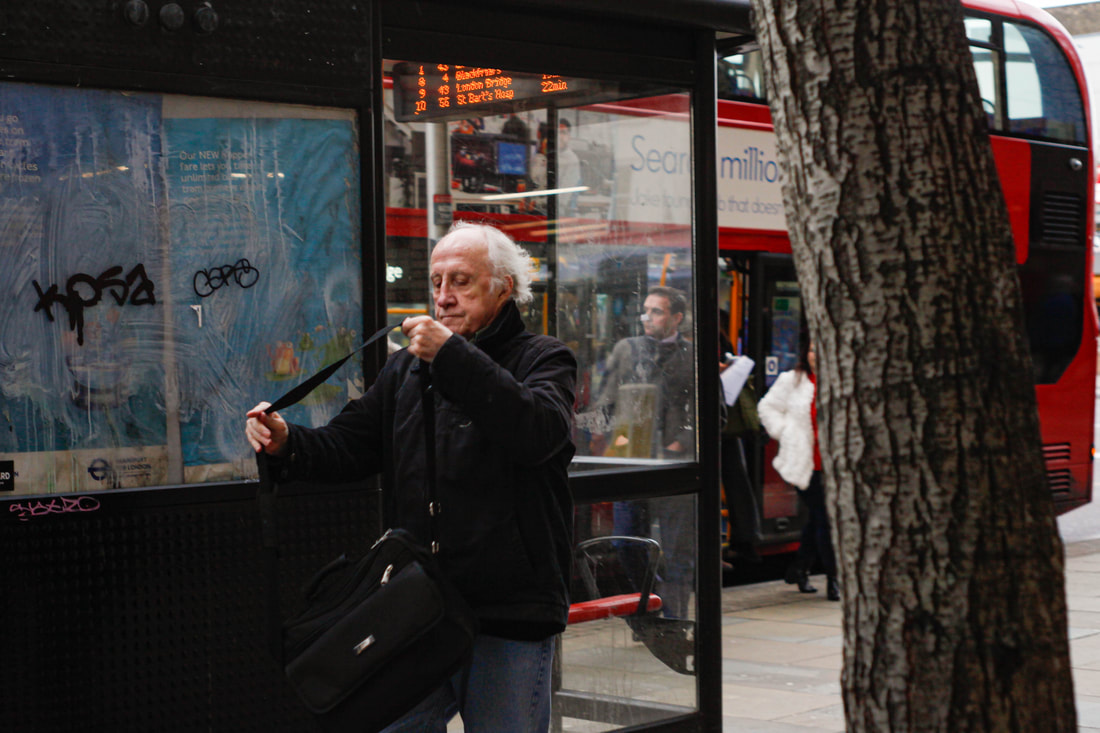
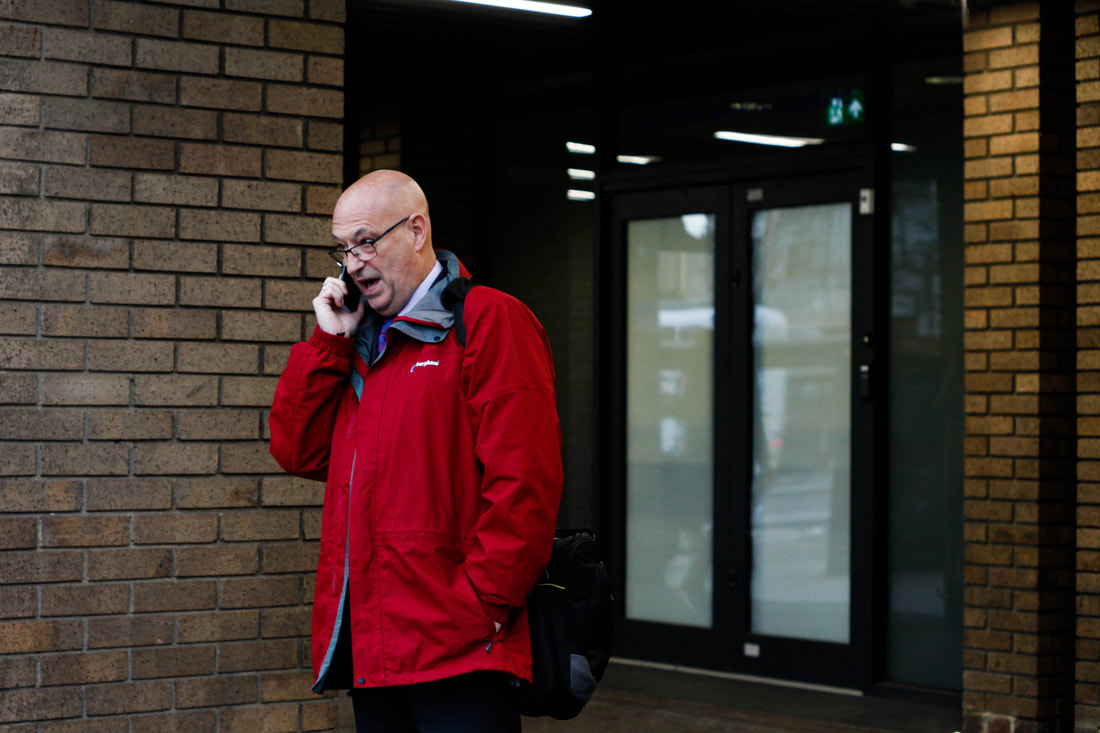
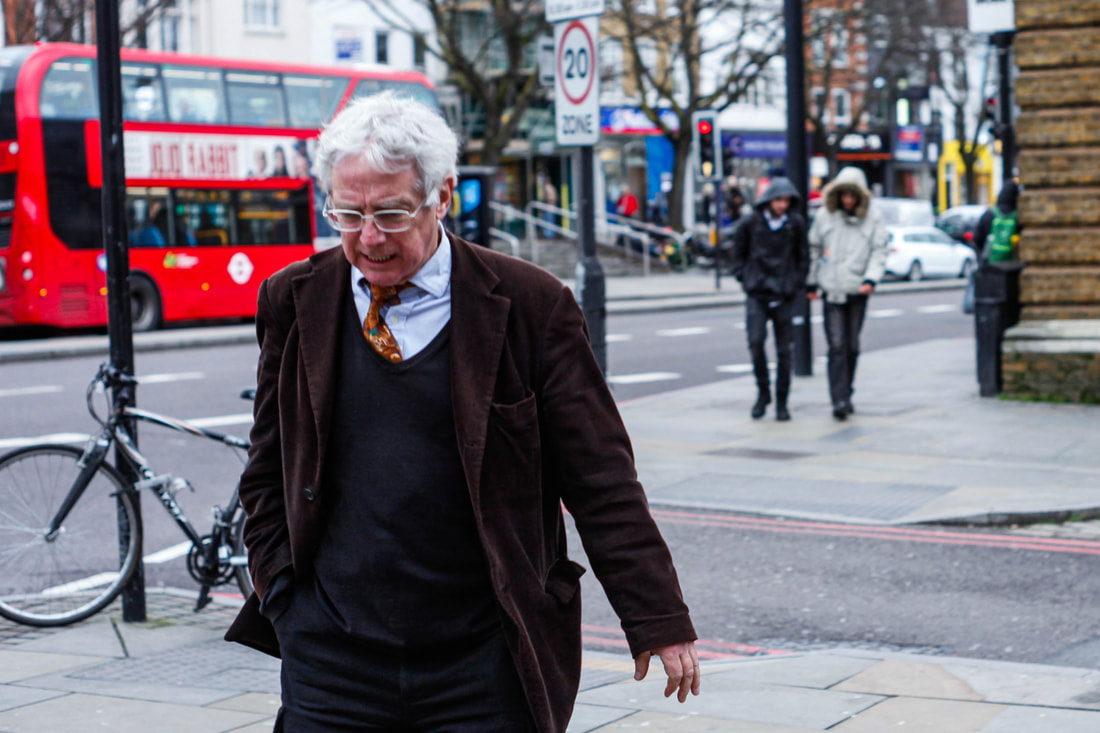
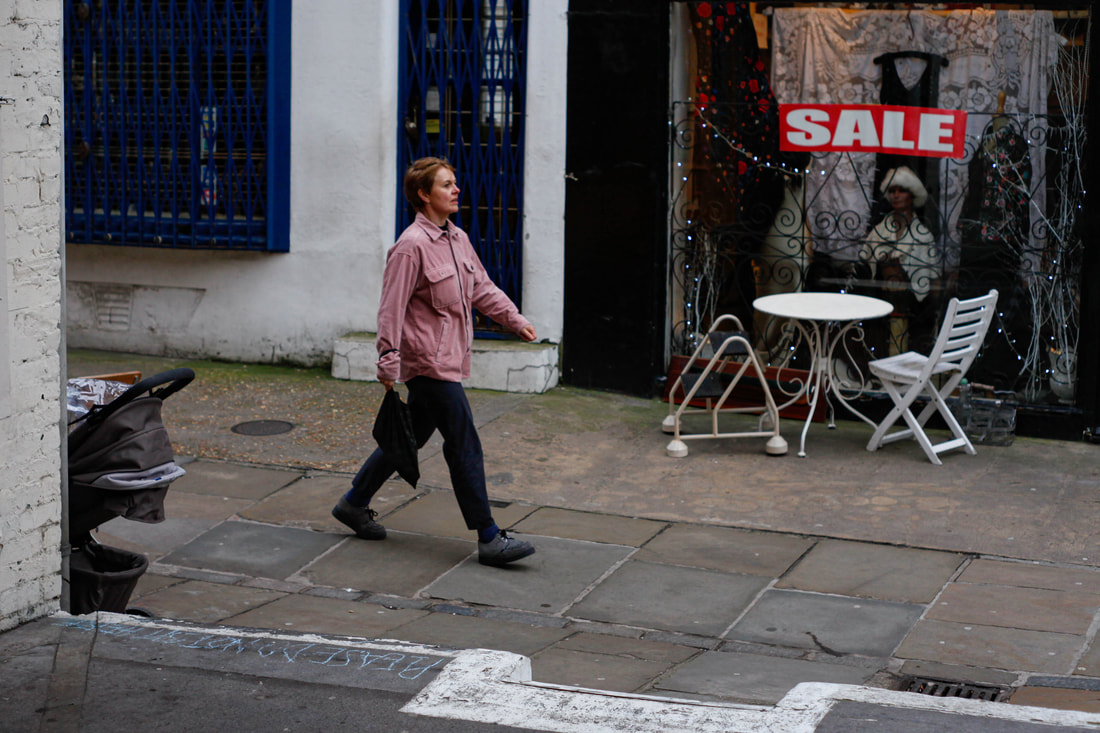
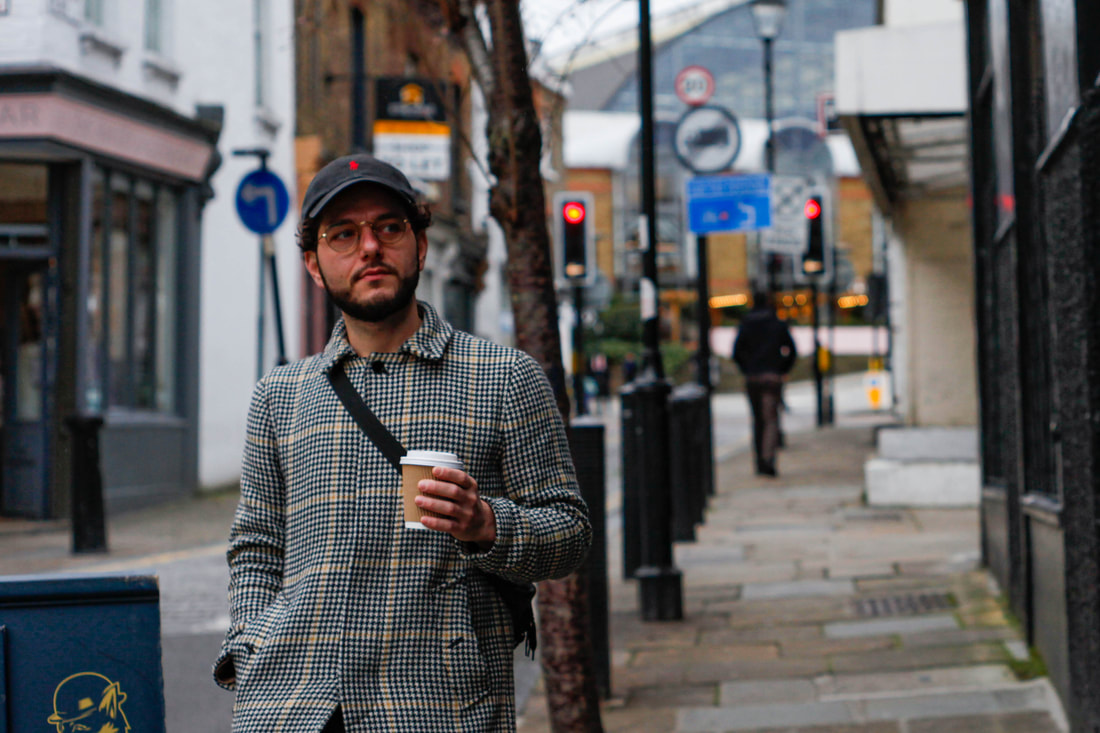
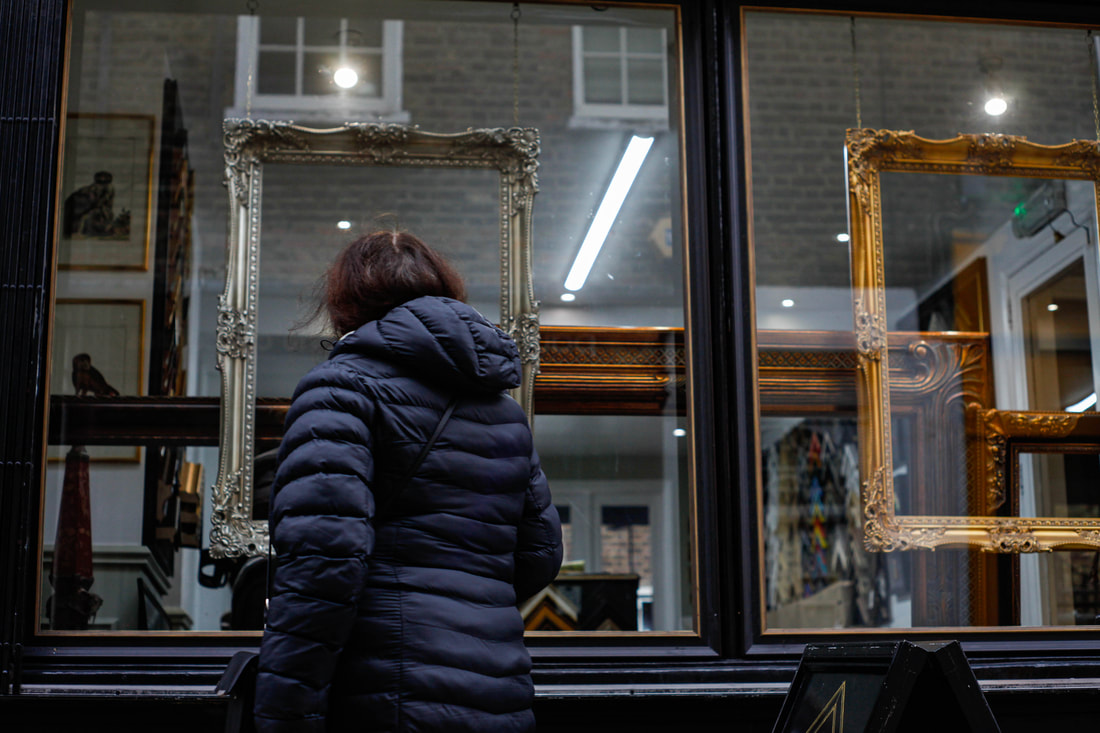
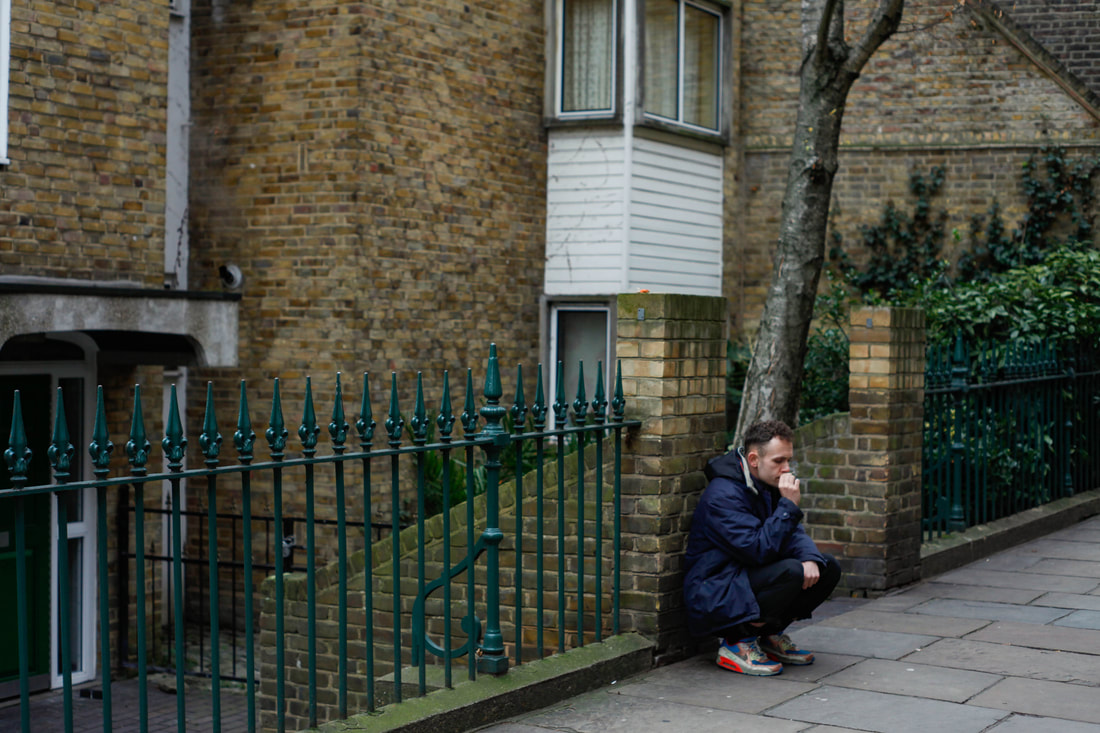
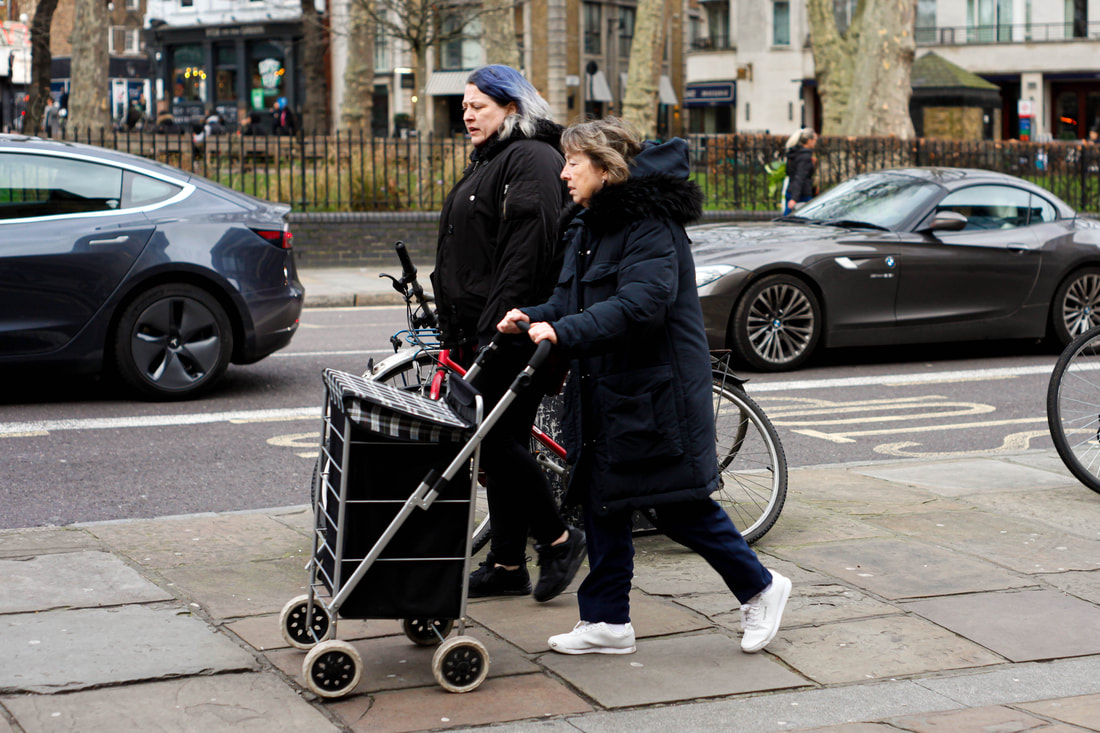
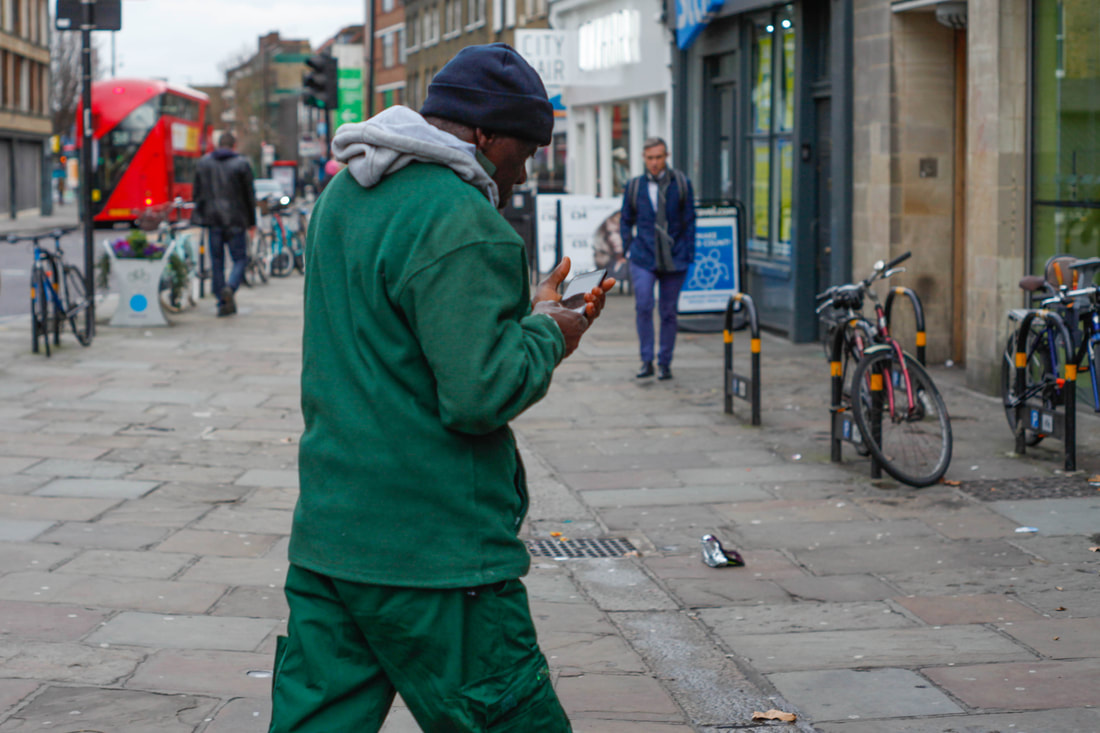
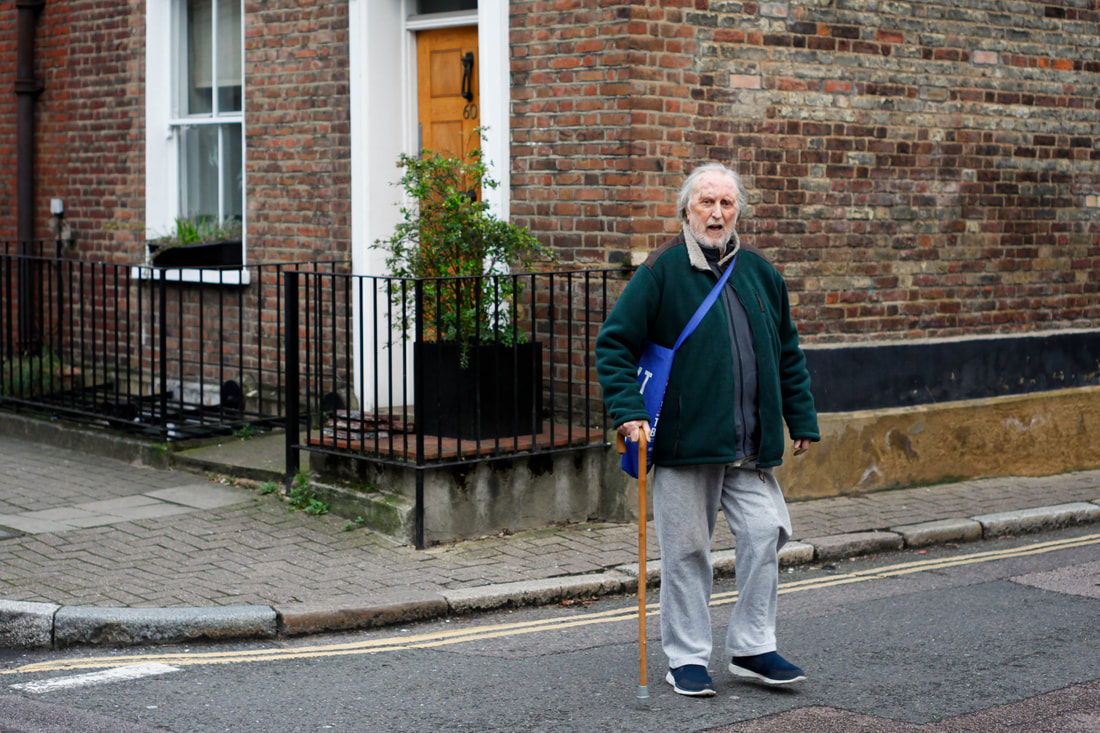
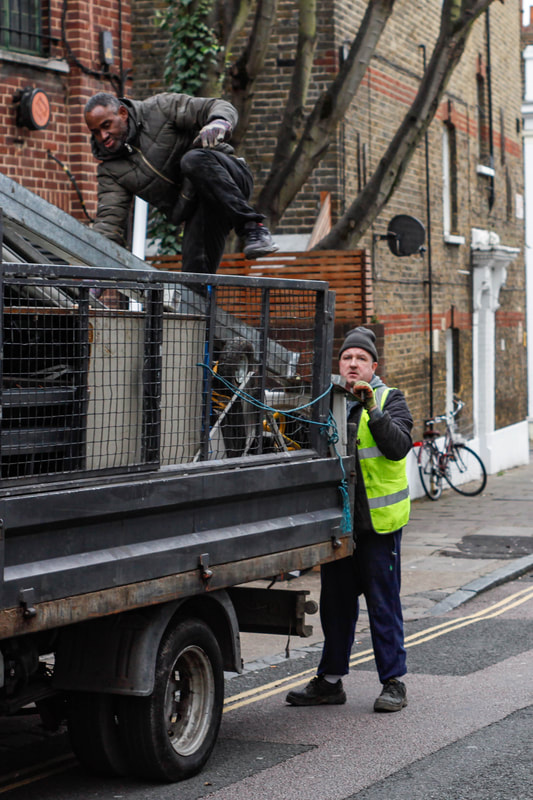
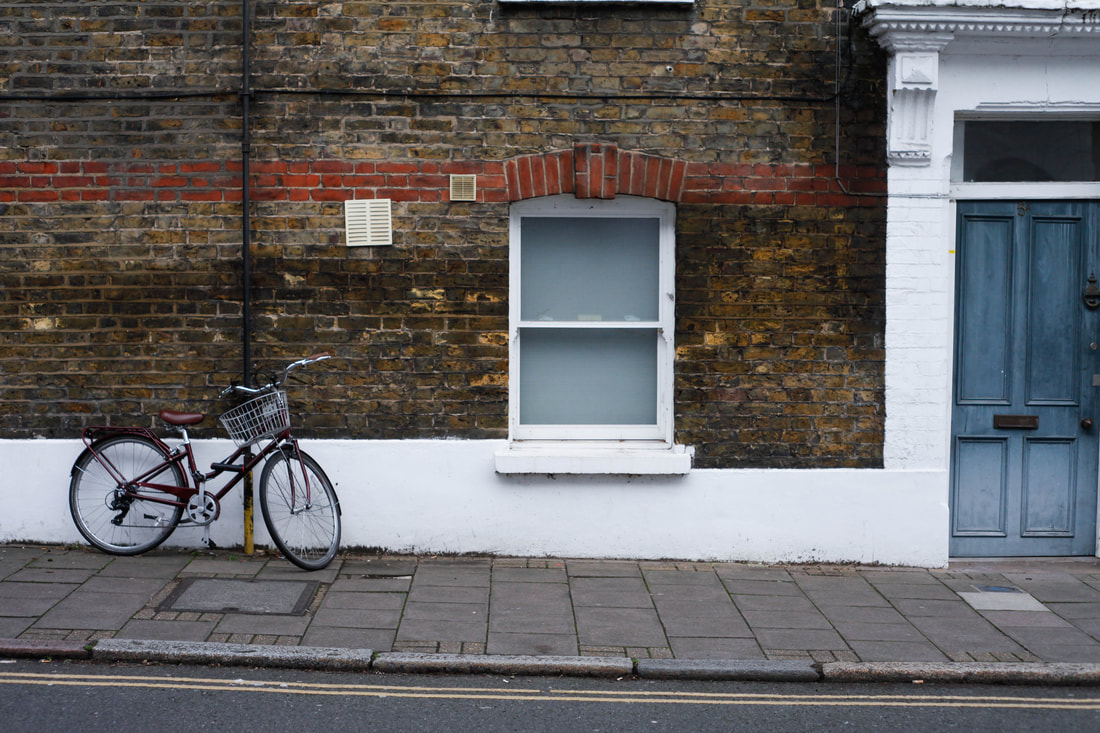
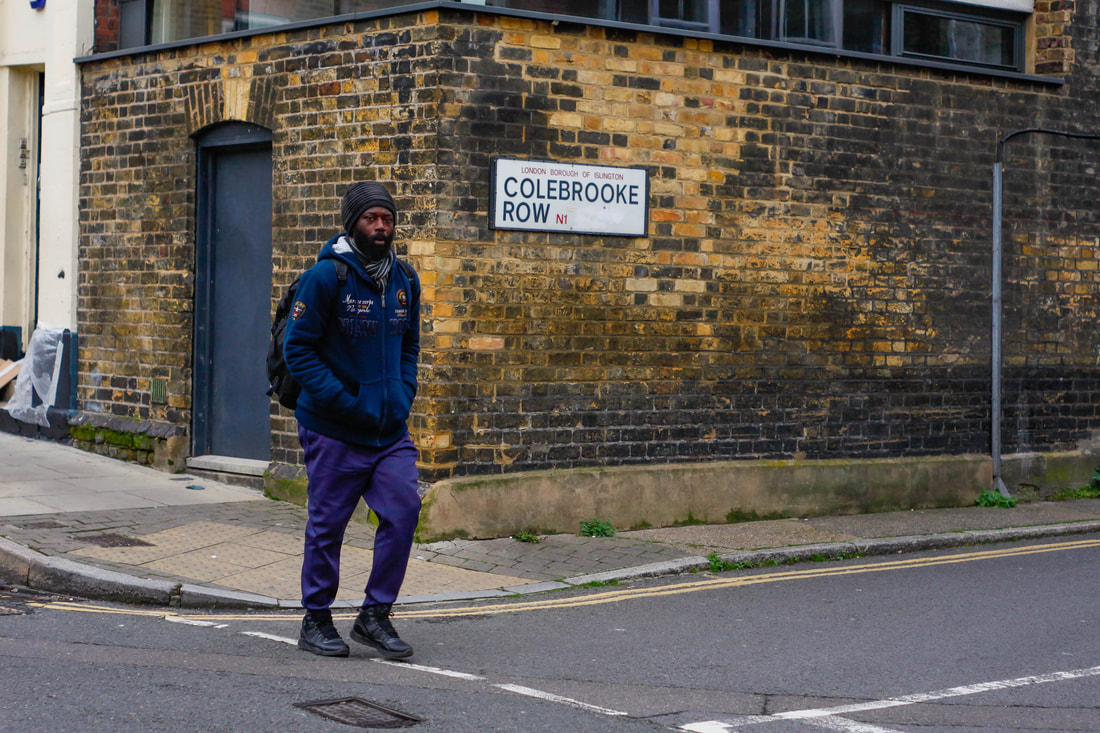
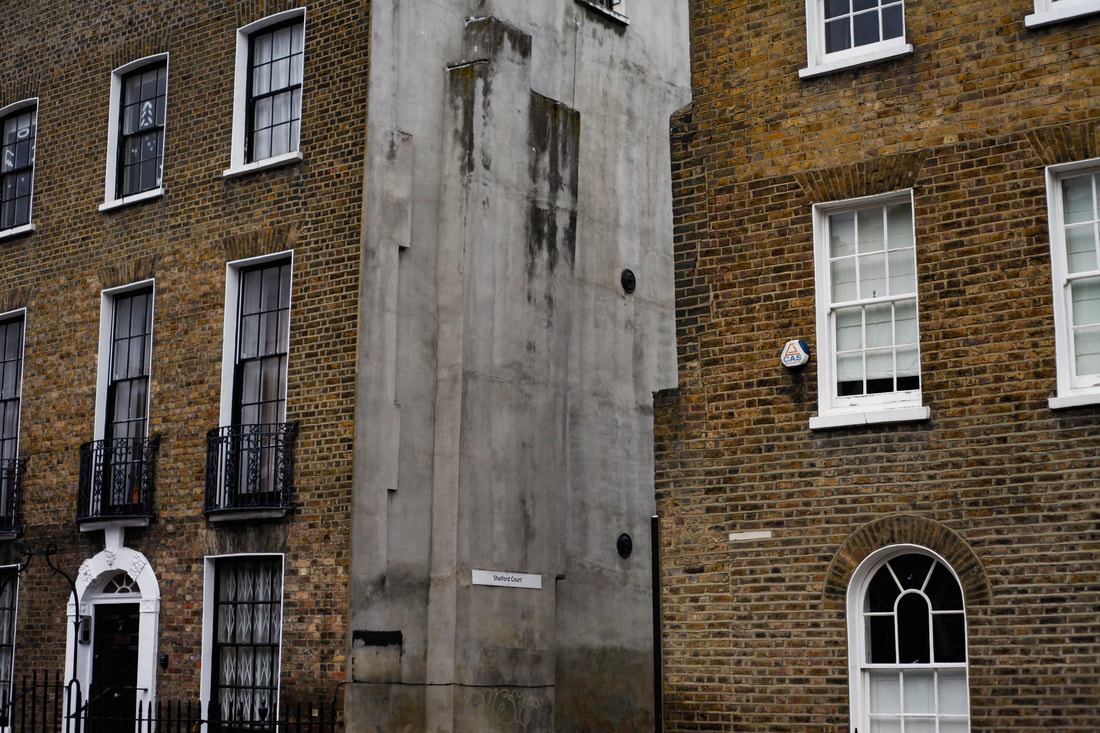
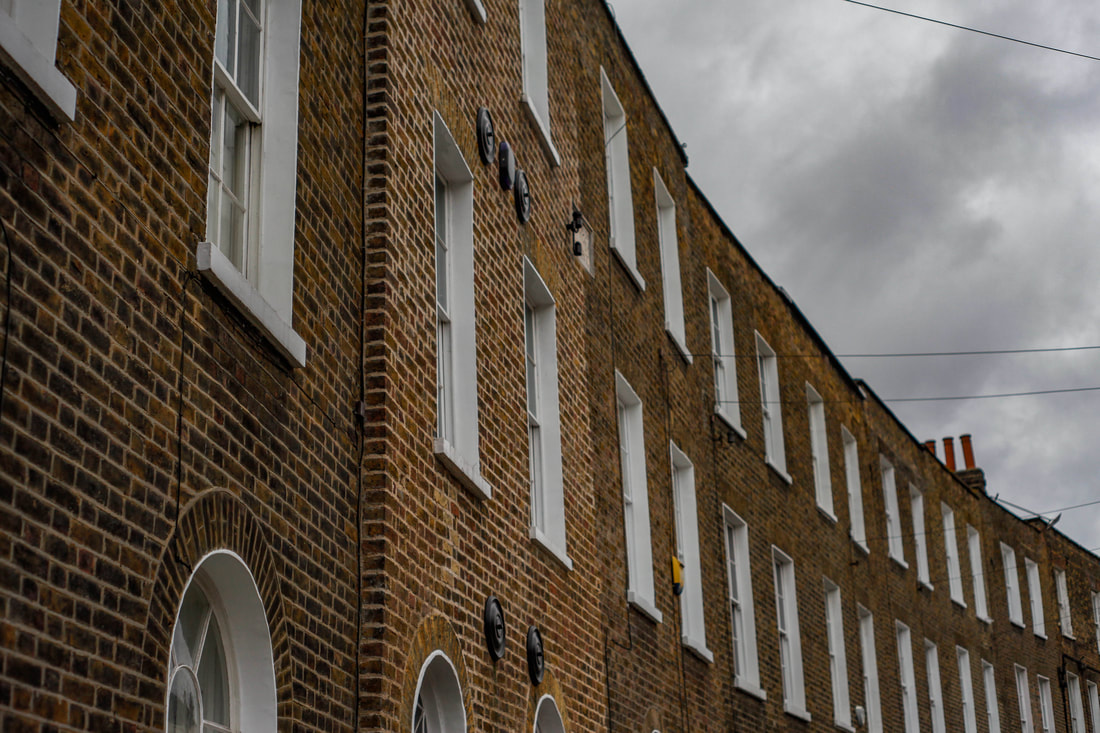
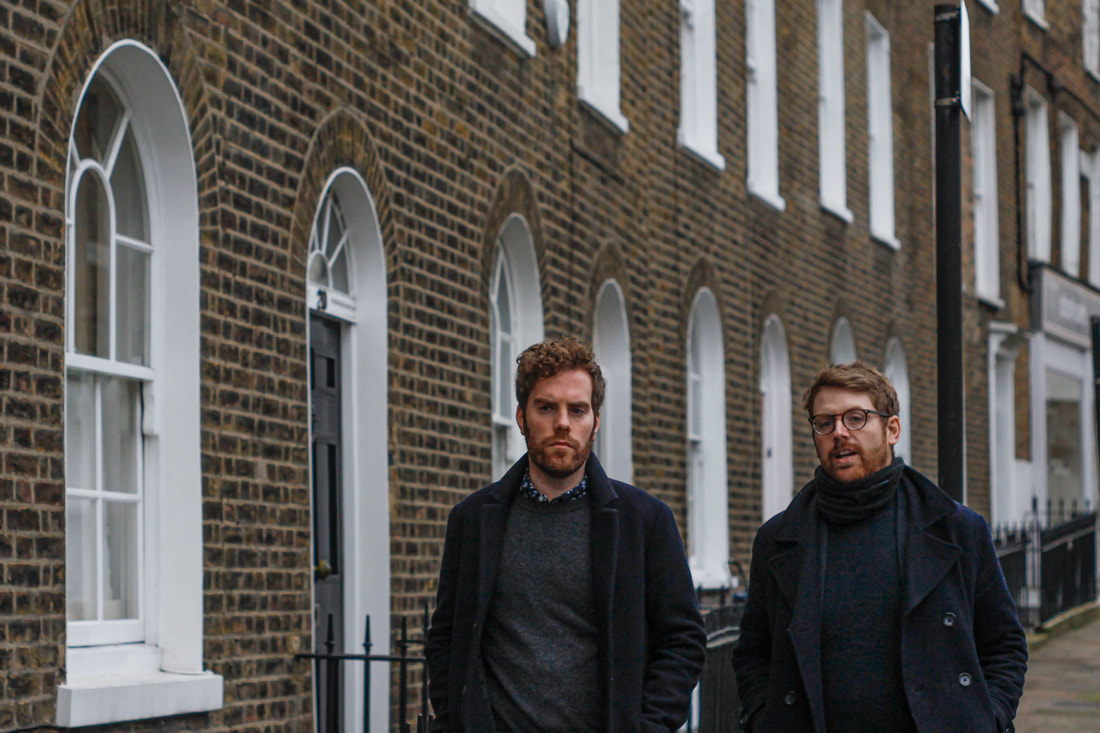
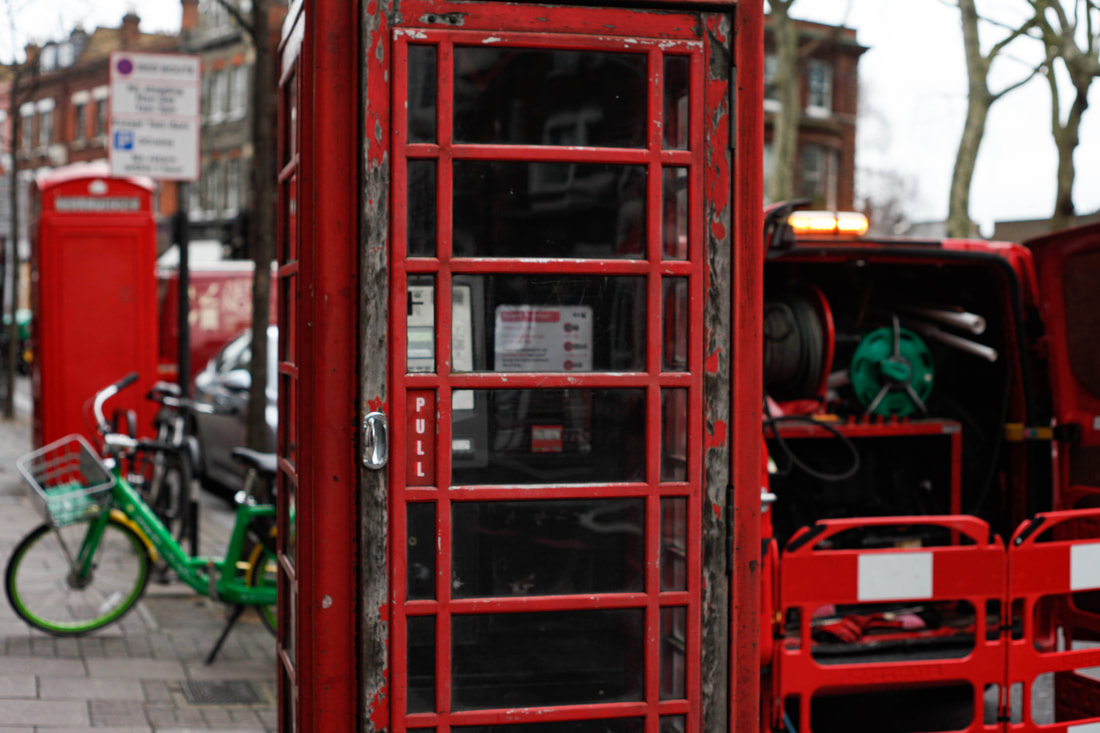
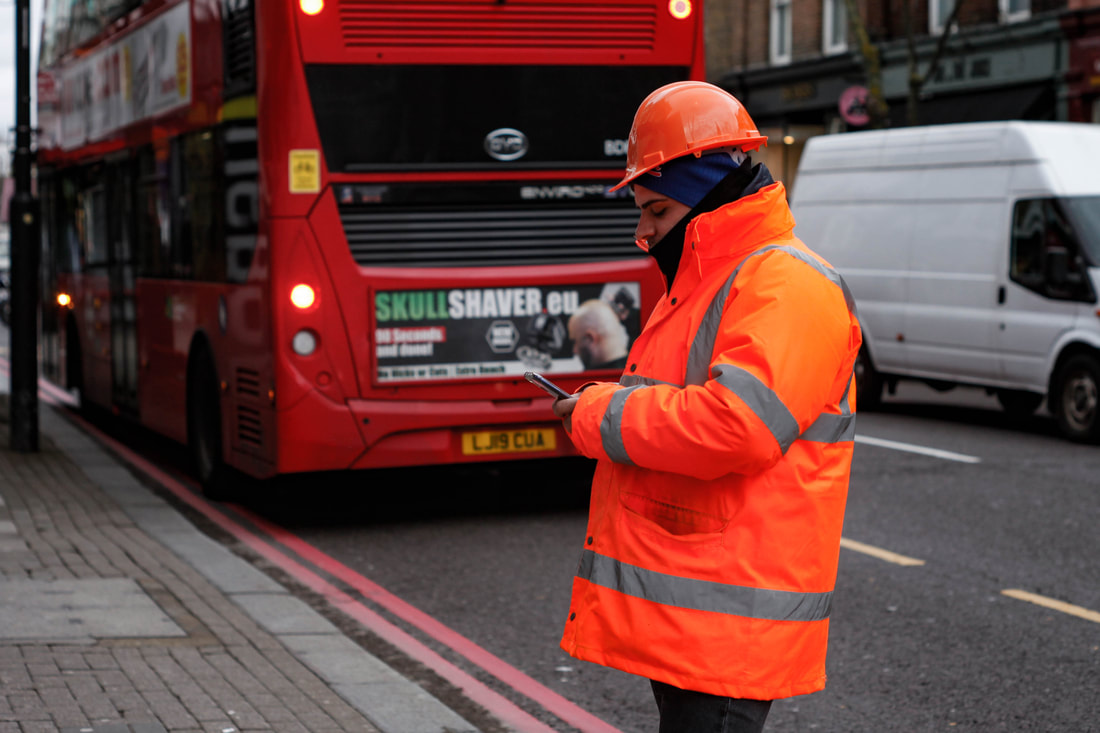
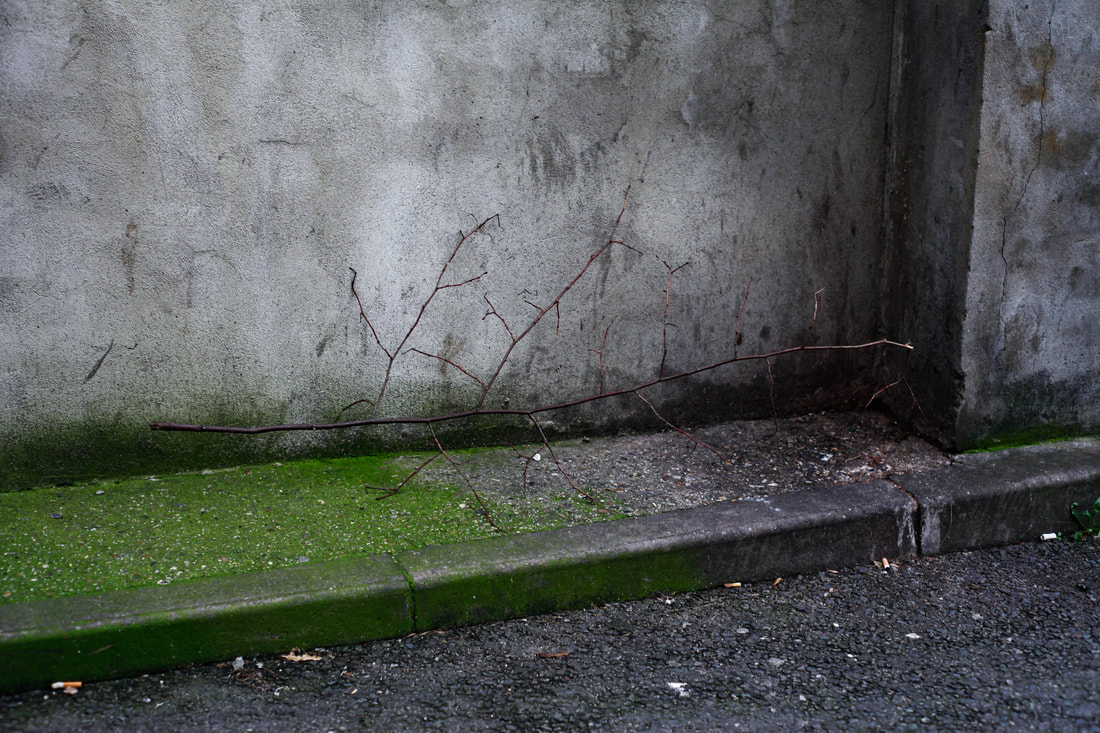
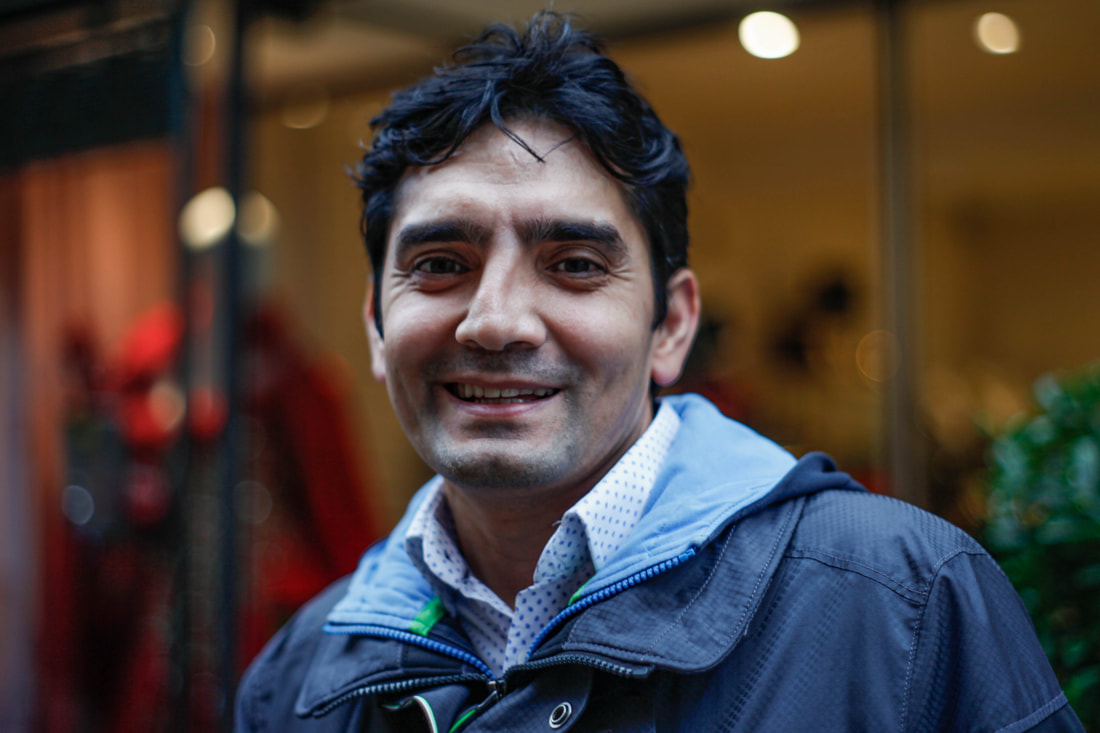
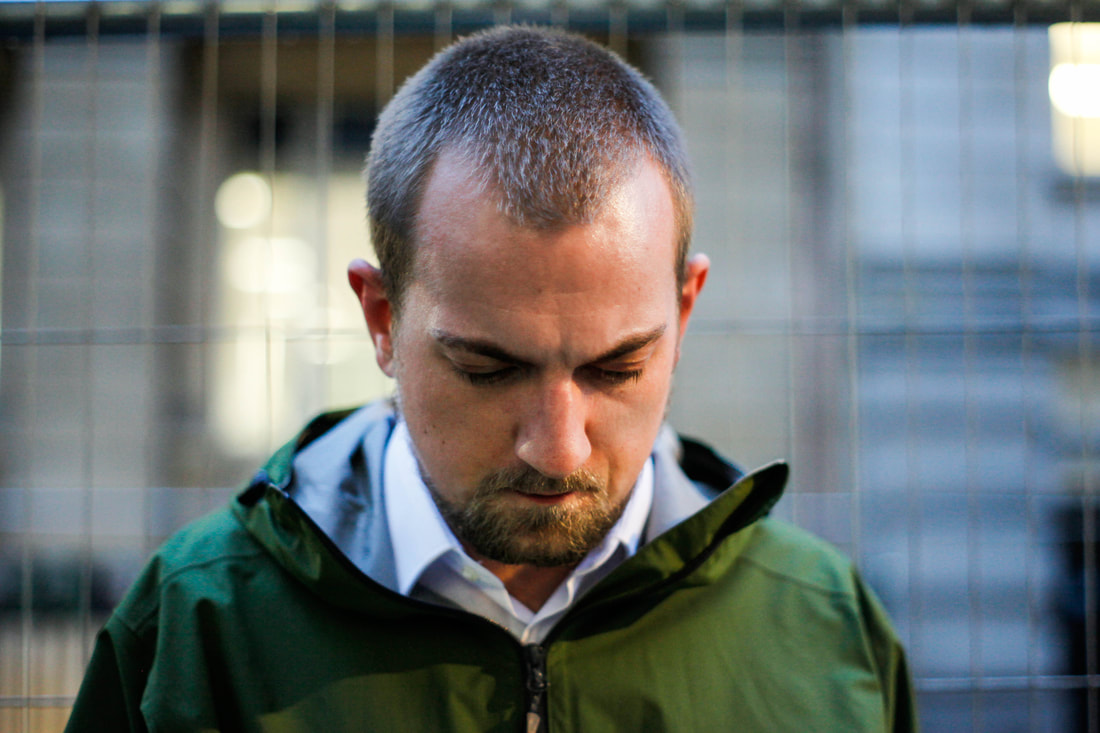
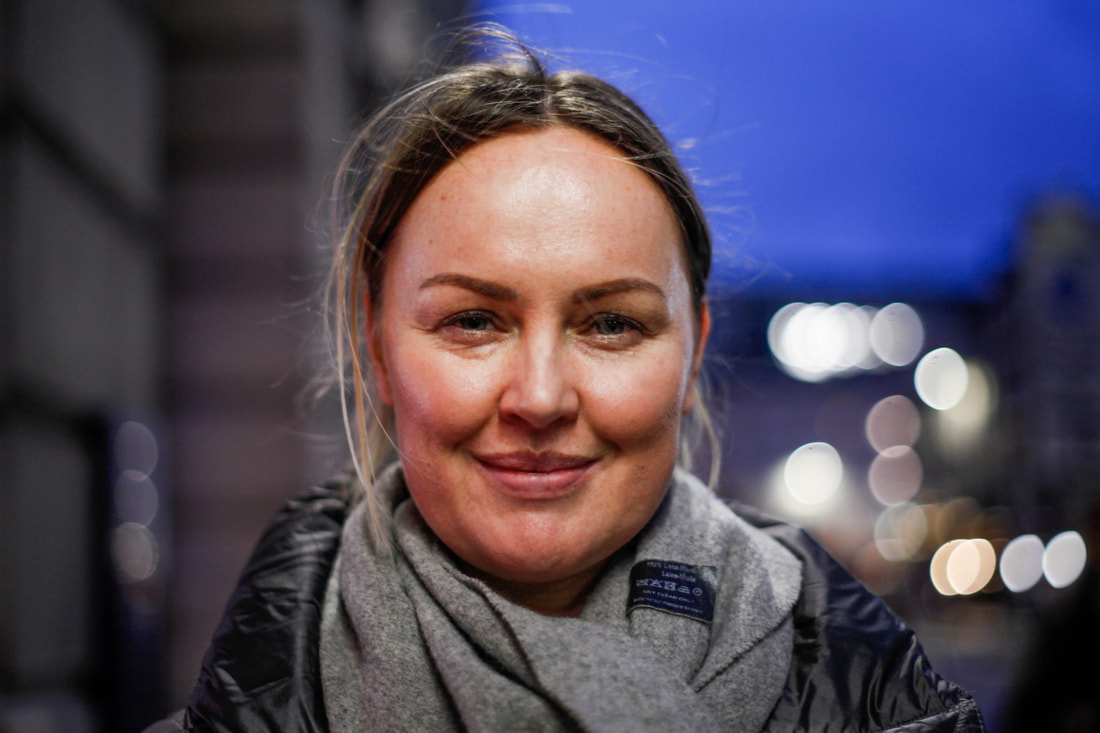
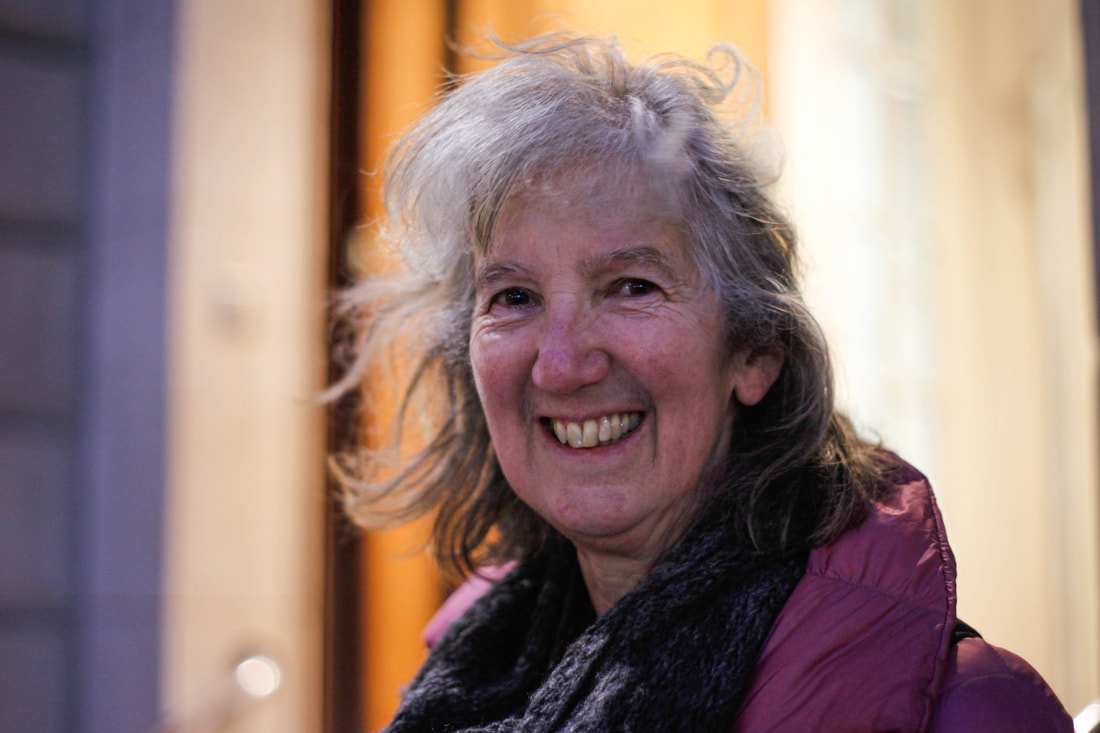
In this photoshoot, I started photography journey at North Greenwich. From there I went to Angel station in Islington, where I walked on the highstreet for about an hour. I then took the tube to Moorgate station. I then walked to the Barbican which was nearby, and from there, I walked around the surrounding area. The first portrait was taken in Islington, and the other 3 were taken around the Barbican, and the surrounding area. The first photoshoot was taken on film in Budapest, however, I decided to do the portraits of people on a digital camera, as I didn't want to make the individuals wait for a long time while I set the exposure. On a Digital camera, I was able to use aperture priority, in order to reduce the time that people had to wait for me to take the photograph. From both journey projects that I did, I can conclude that street photography, which is my preferred type of photography, is much easier and better than portraits. This is because, there are not too many friendly strangers who want their portrait taken, and when you take a candid photo of someone, as is usual in street photography, you do not have to ask for permission as they usually do not notice you taking the photograph. In my opinion this is a much better way of taking photographs of strangers, as you can get a better idea for their expression and emotions at the time the photograph was taken. The background is also more visible when the photograph is taken this way, which creates a better sense of where they are located.
The journey project film-
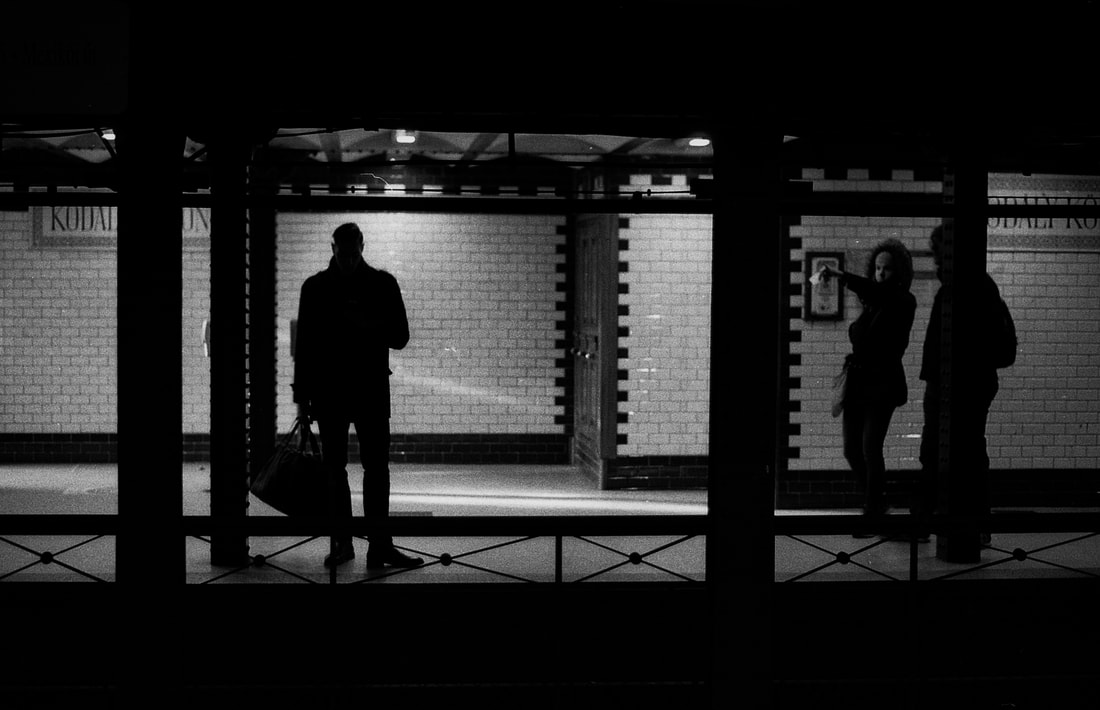
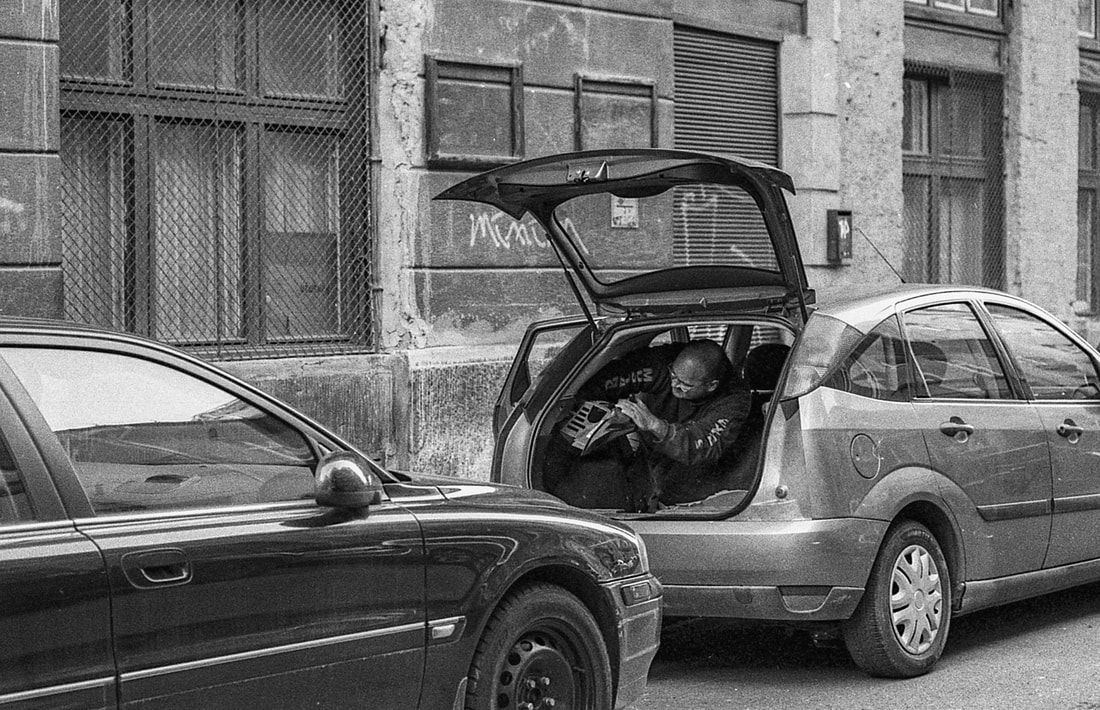
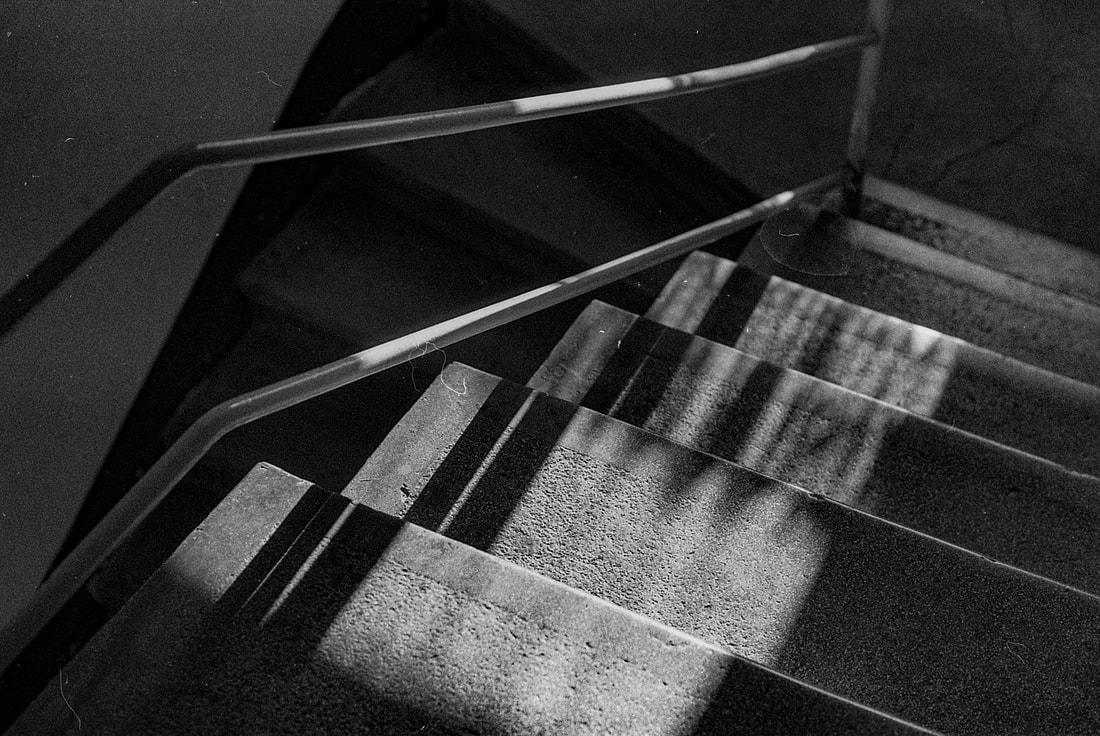
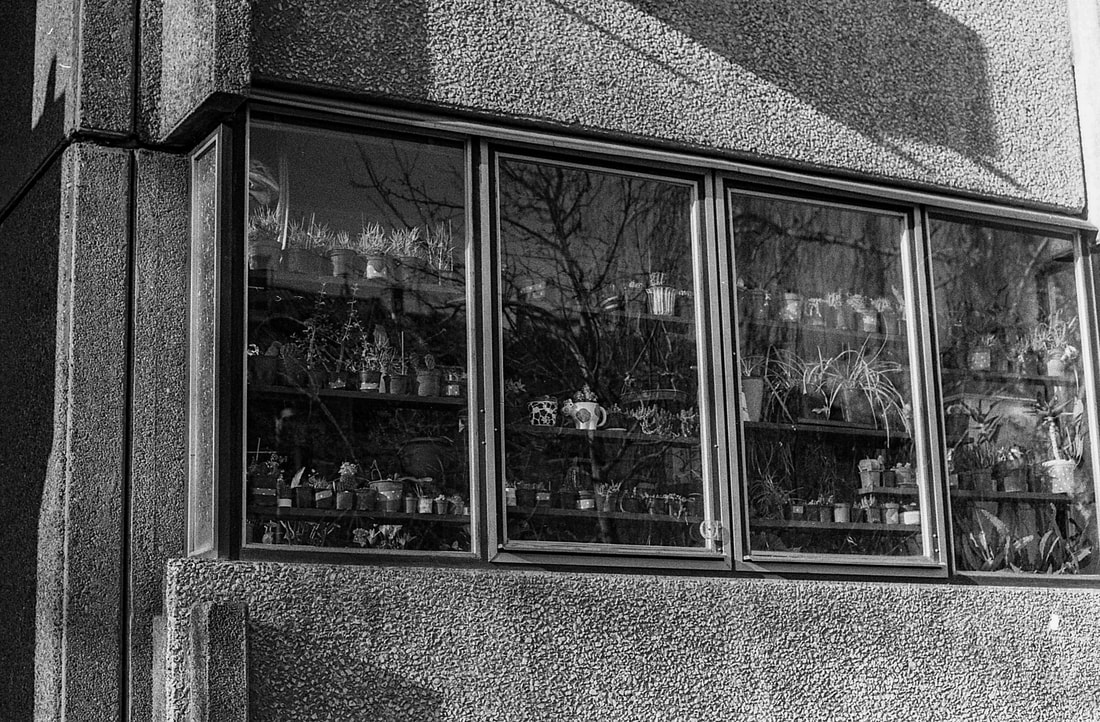
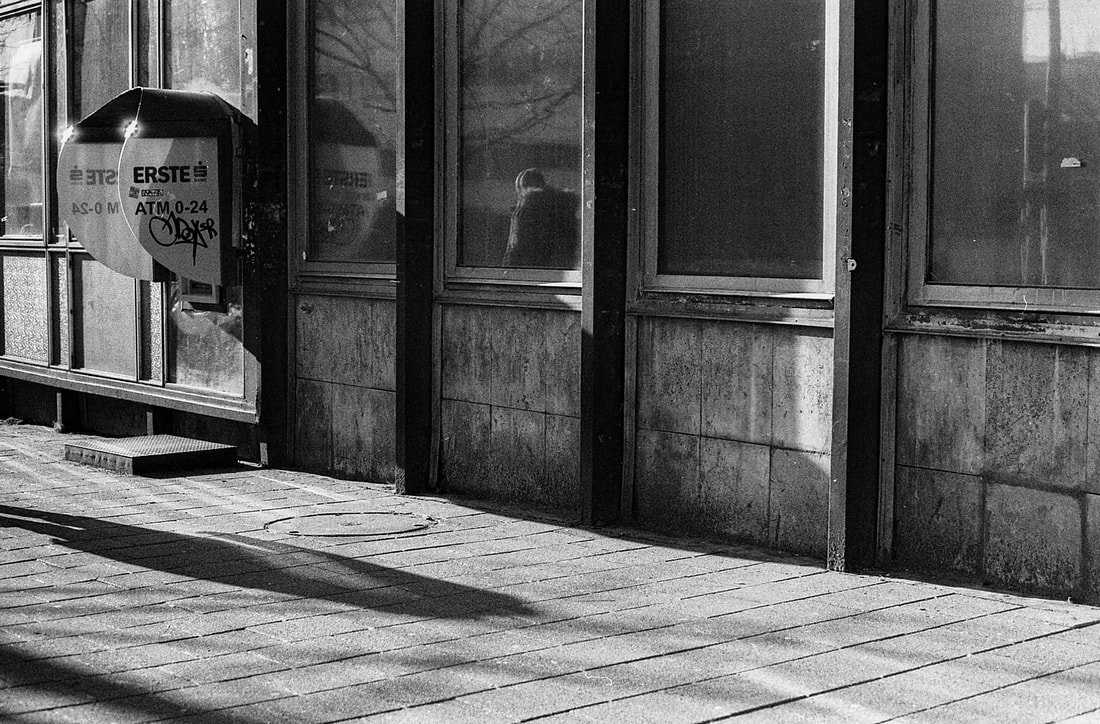
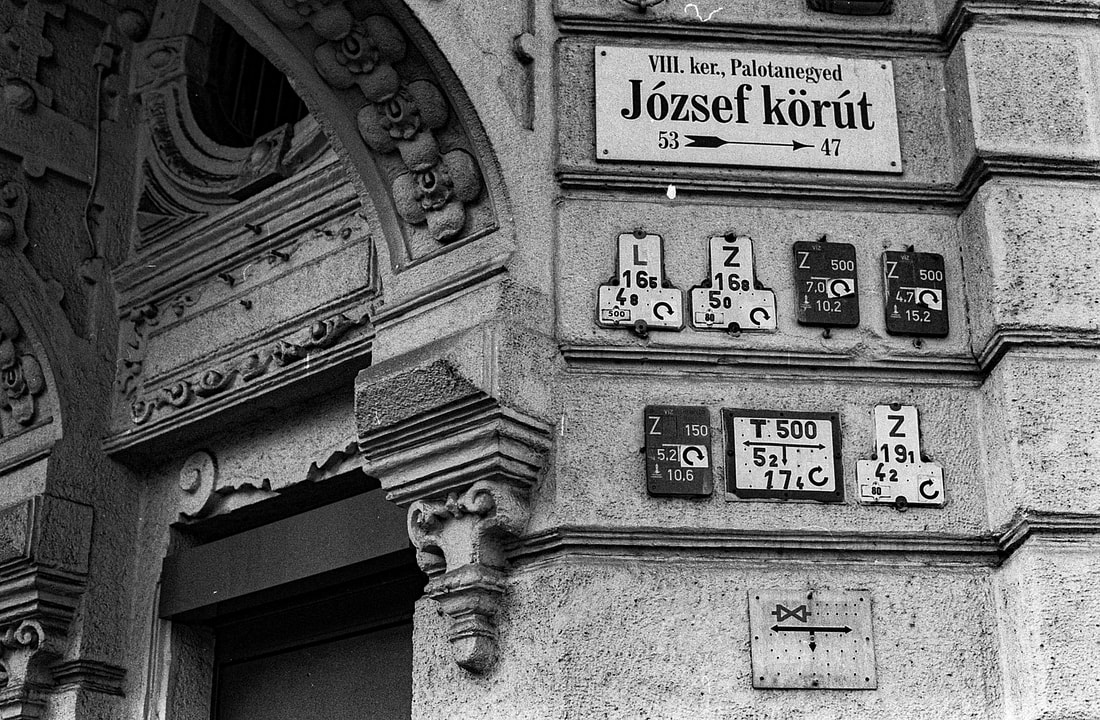

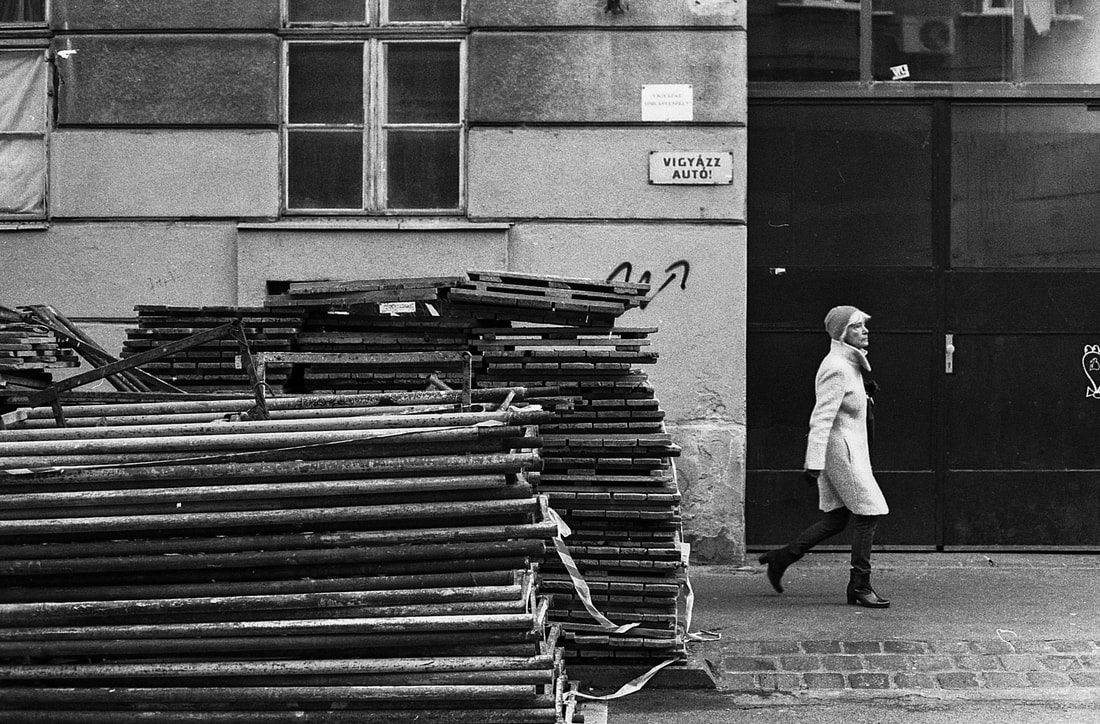
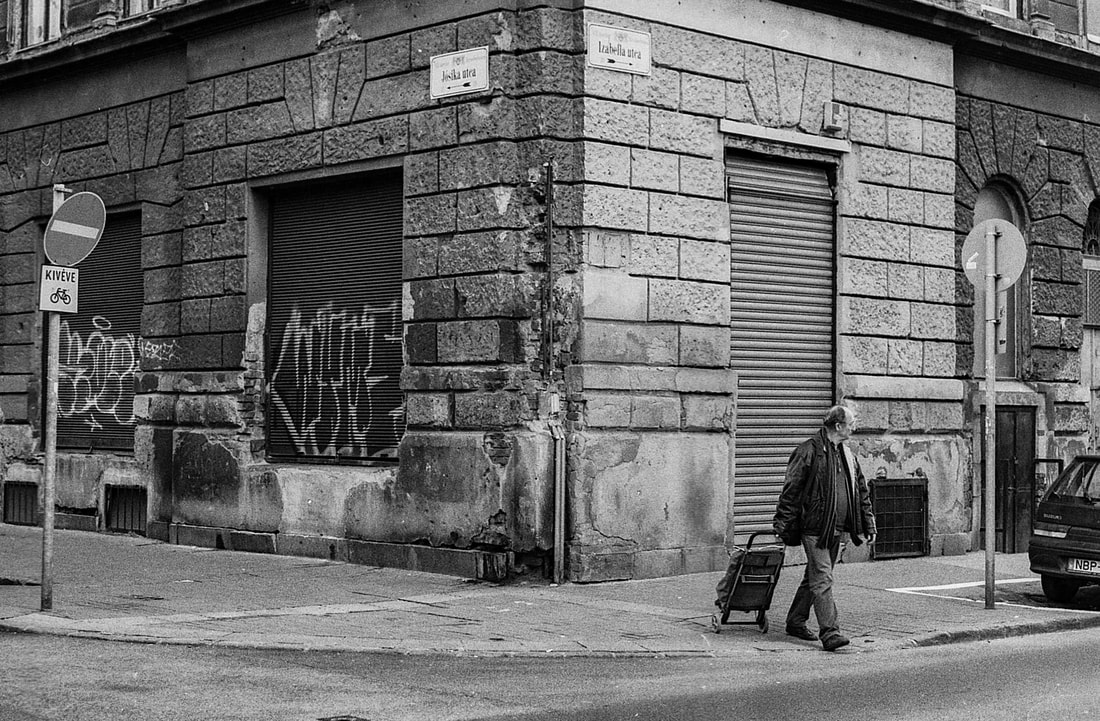
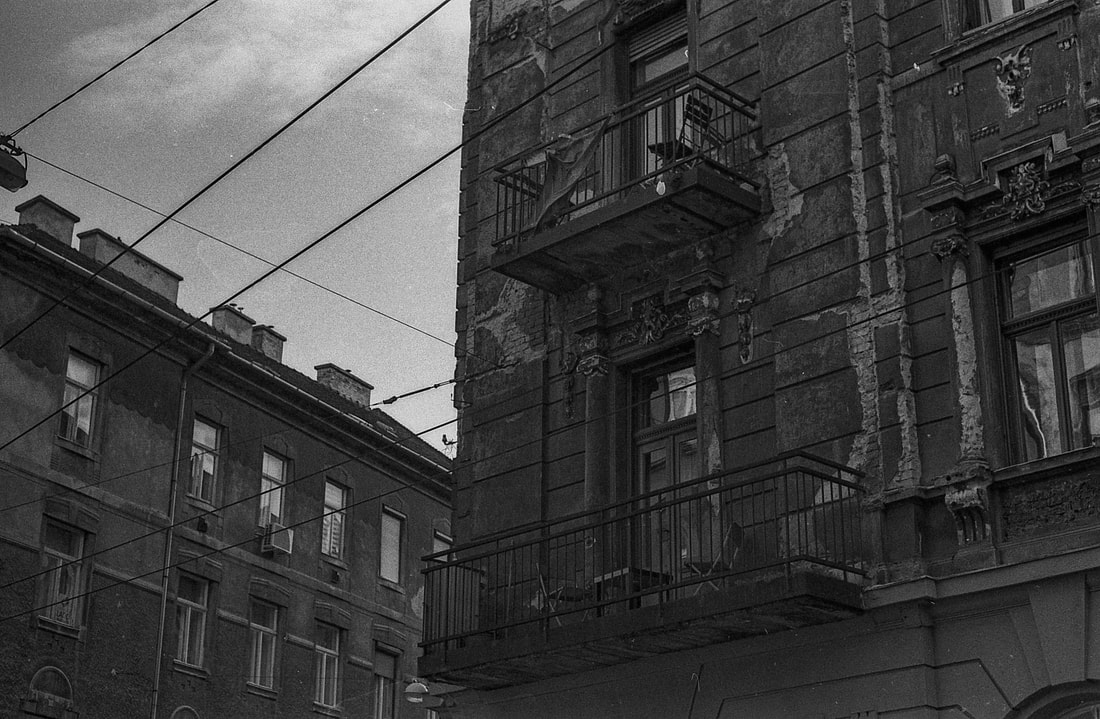
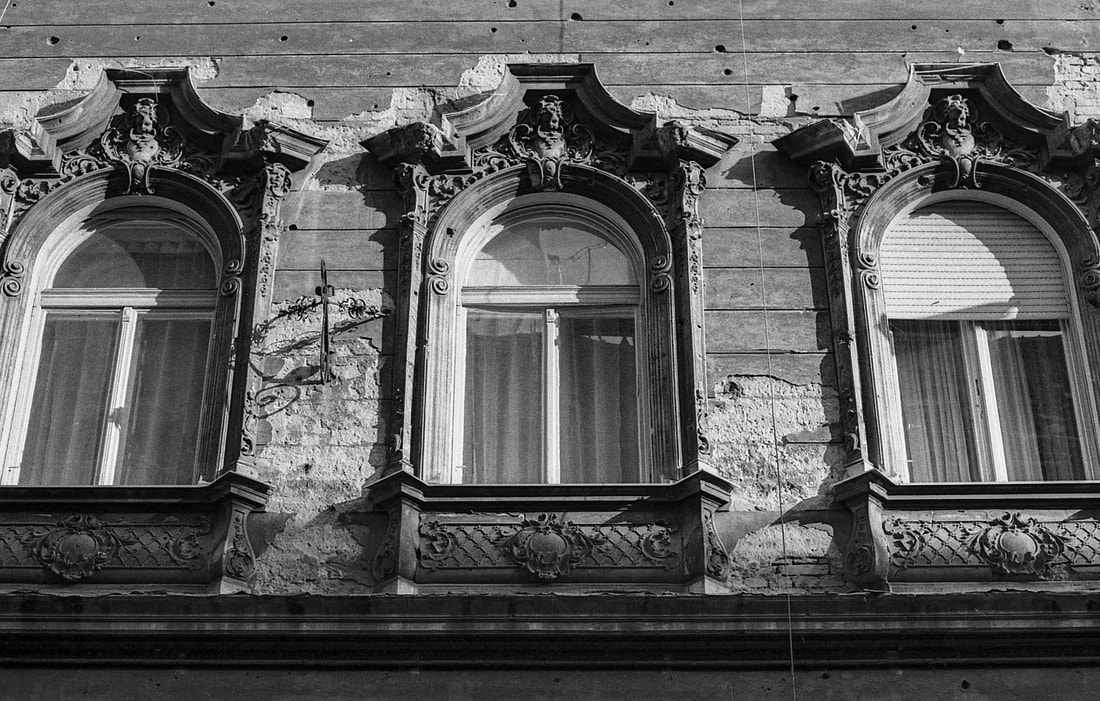
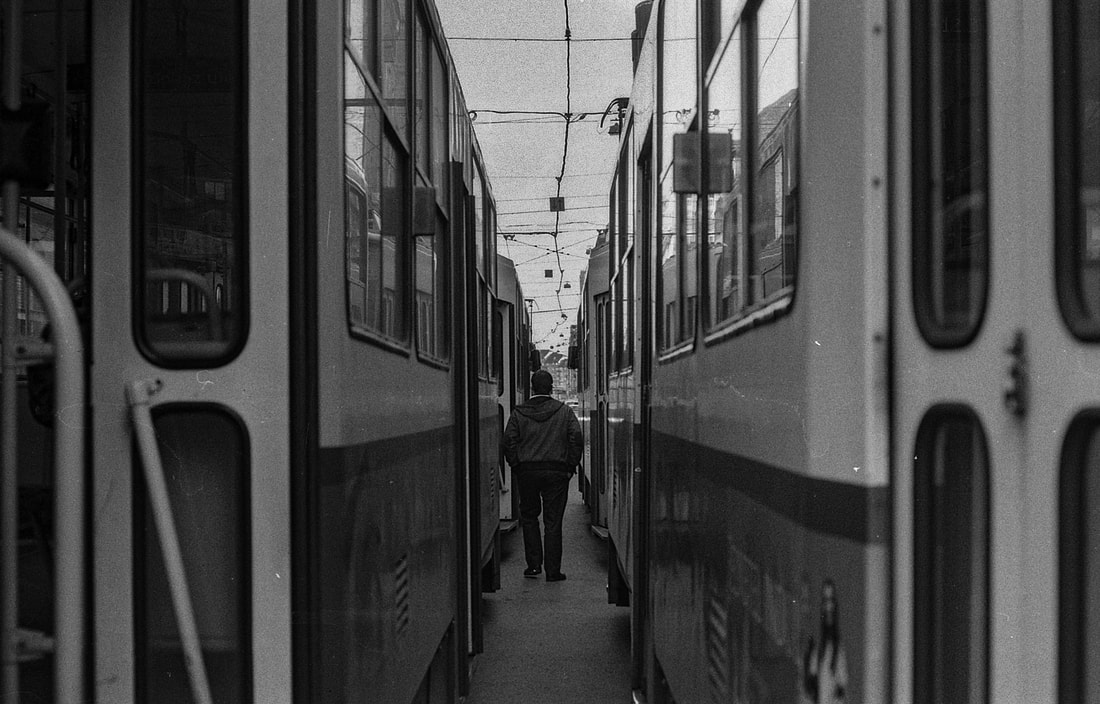
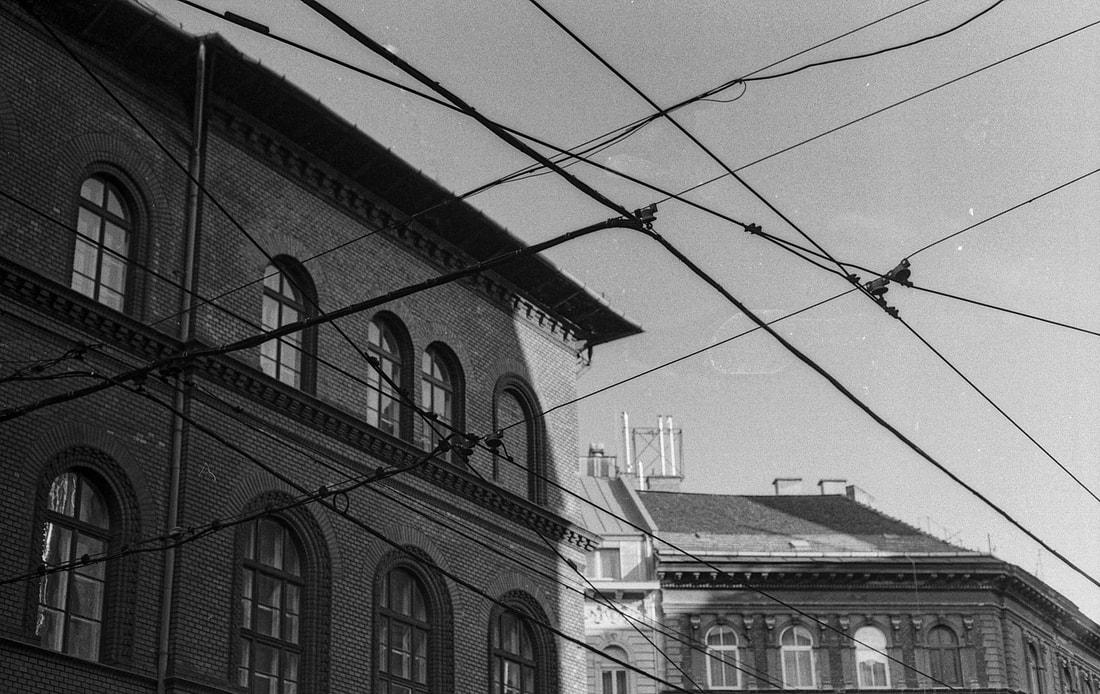

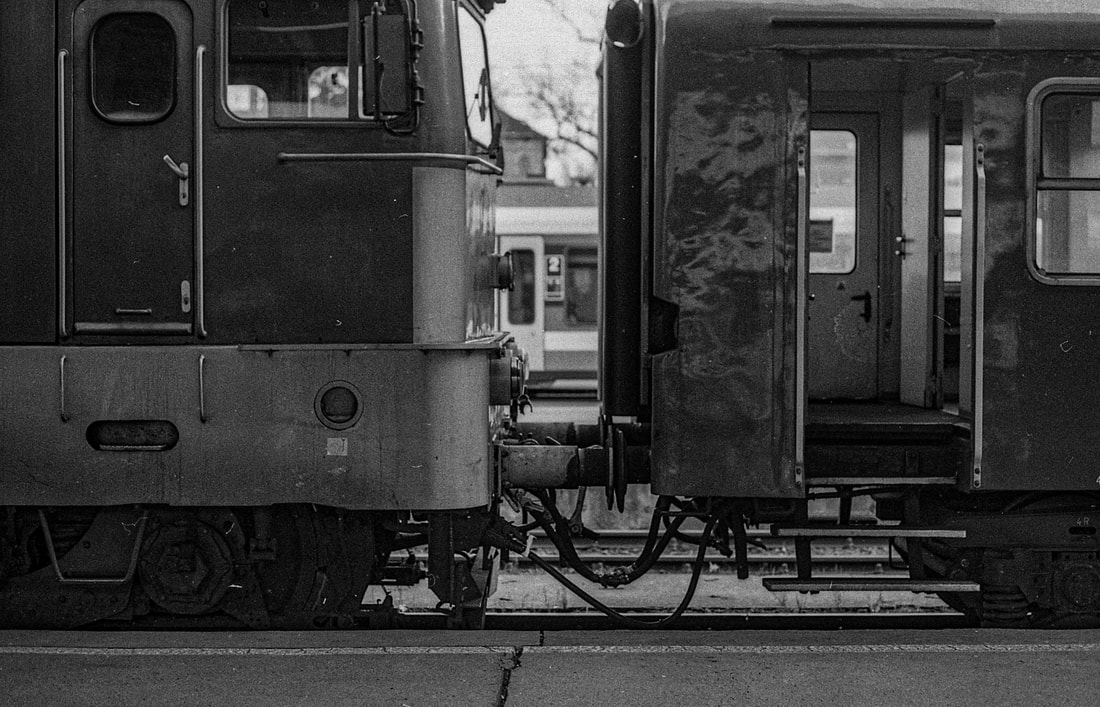
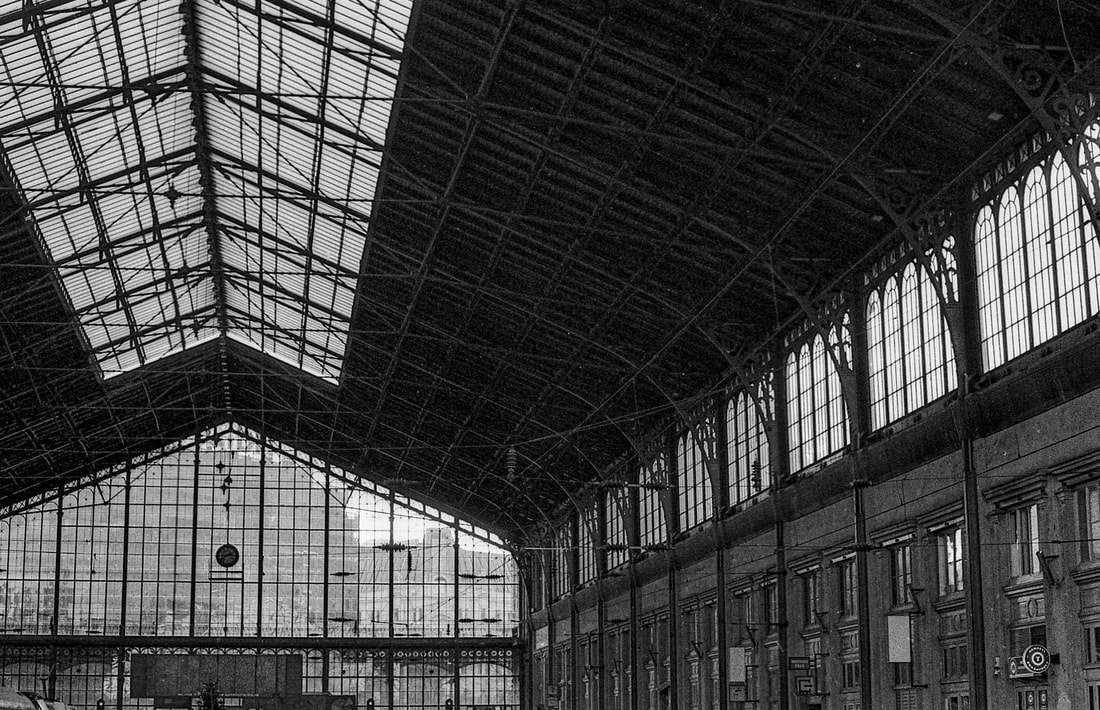
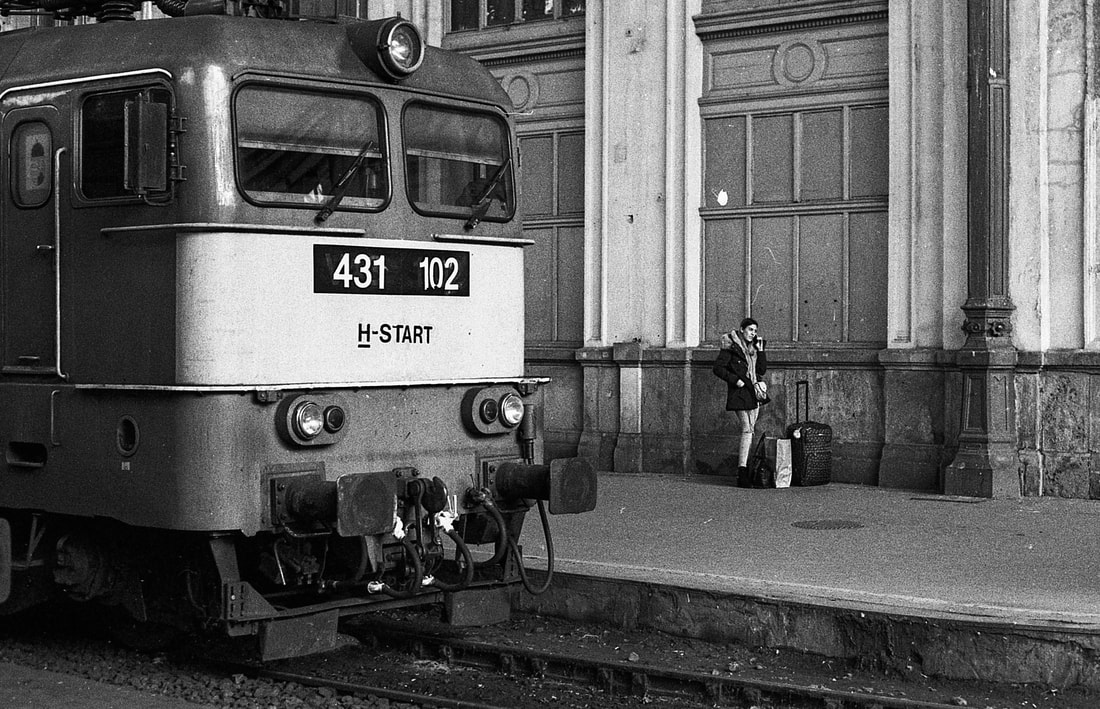
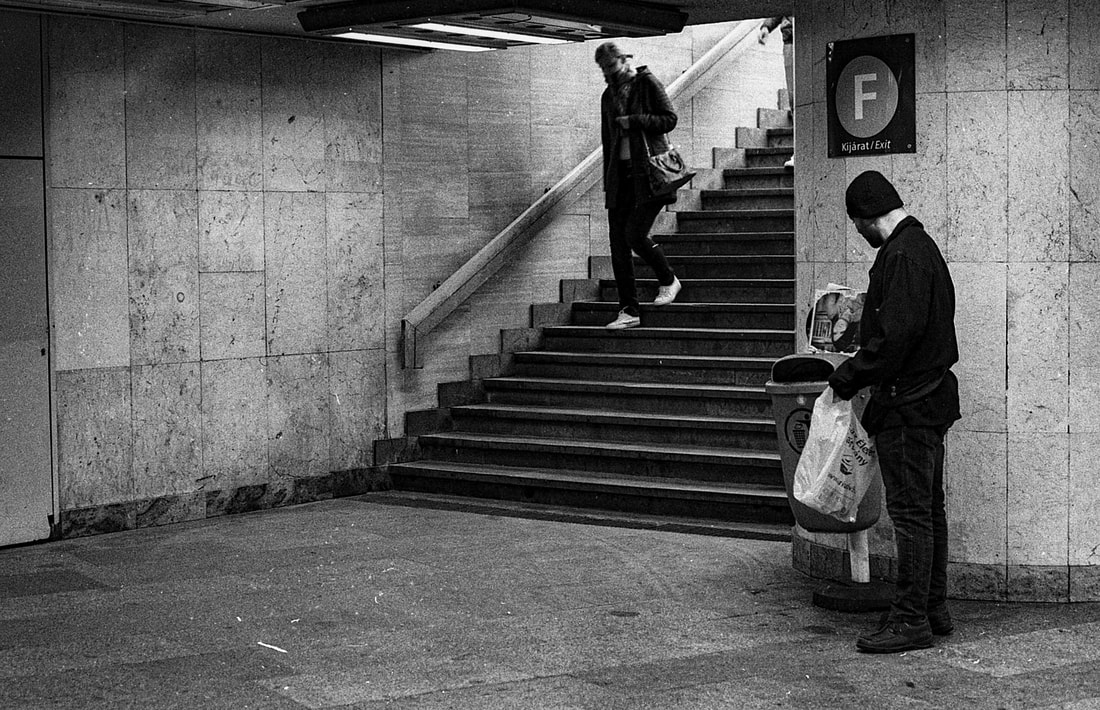

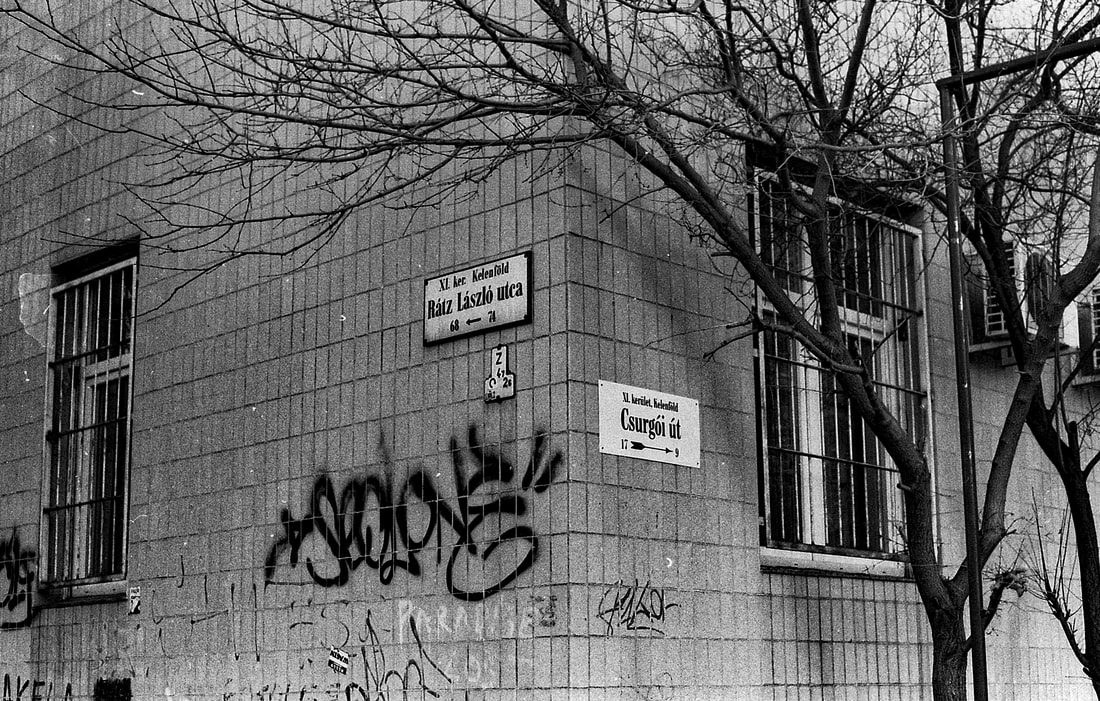
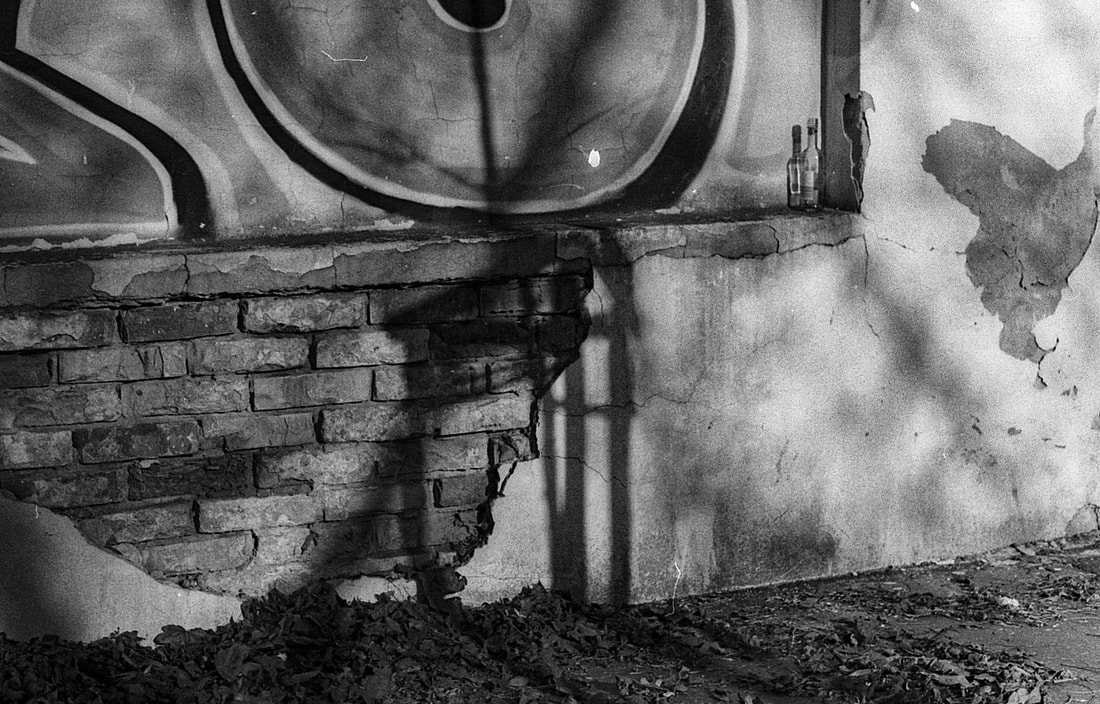
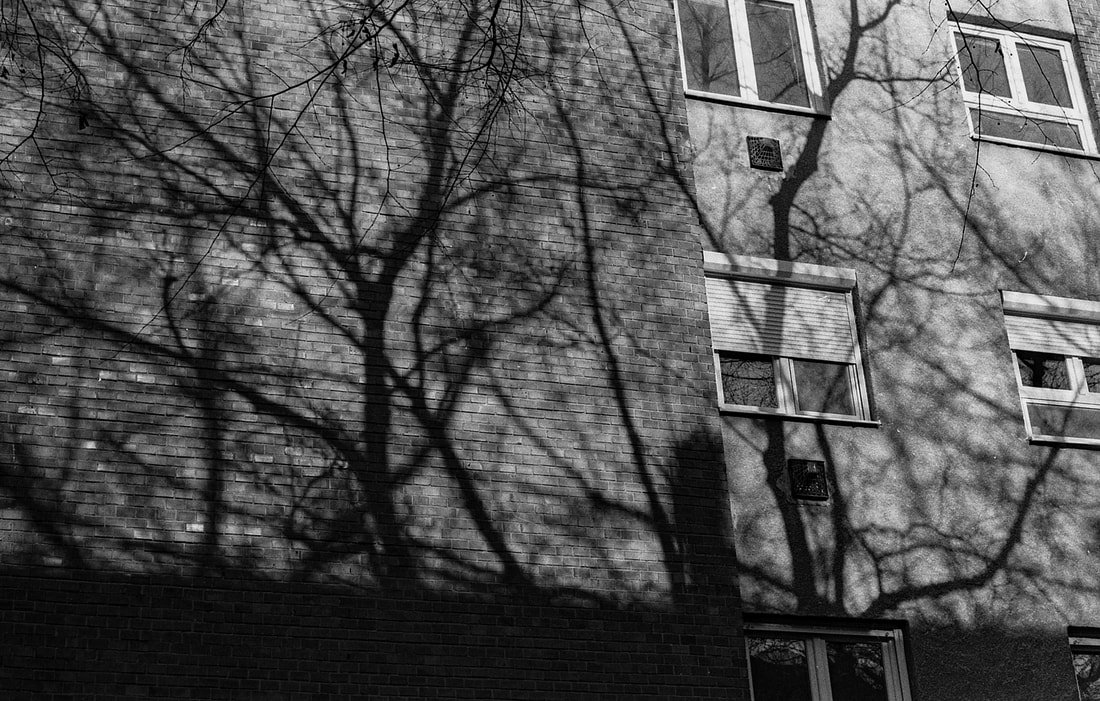
For most of the photoshoot, I stayed on the Grand boulevard in Budapest, ending up at the West Budapest train station, with short detours in smaller streets off the Grand boulevard. Throughout this photoshoot, I was primarily looking for interesting shadows and shapes in the streets, as well as people who could be interesting in the photo. During the beginning of this photoshoot, it was very sunny, however it later became overcast, which meant there were fewer shadows. When it got less sunny I focused more on street photography as it can be done in any weather.
Cyanotypes
Cyanotypes can be used to make an outline of objects, or to make a print of a photograph. A mixture of ferric ammonium citrate and potassium ferricyanide is made, and it is then applied to a sheet of paper. This paper should then be left to dry for 24 hours in complete darkness. Once it is fully dried, objects, or a negative of a photograph can be placed on the sheet of paper, and placed out into sunlight for around 30 minutes. Once the paper has turned blue around the objects which were placed on the sheet of paper, it can be placed under water, to fix the image. If this is not done, the image will fade over time.
Photograms
The photograph process was refined by photographer Man Ray. Christian Schad and Moholy Nagy-Lálszló also experimented with this technique. Photographs can be made by placing objects on photographic paper, and exposing them using a Lightbox. The result is a negative shadow formed by the object. On the photographic paper, the areas which were fully exposed to light appear black, the areas fully covered by objects are white, and areas which are partially covered, appear grey. This can later be scanned and reverted. The photogram method can be used to create abstract art, or to create a positive print of a negative image printed on acetate.
Chemigrams
In class I made chemigrams. I carried out this process by cutting the film up into 6 smaller parts, in order to save money. I then flicked water on the film, to create patterns. I then went back into the darkrooms, and developed the photographic film, and the patterns that the water made. Chemigrams are often criticised my artists, as you do not have to be good at painting or photography in oder to create good Chemigrams, which angers some people, as they believe that it is therefore completely up to chance. I disagree with this, as even though you need to know about camera settings and composition etc... in order to take good photographs, photography is also up to chance to some extent, and it is simply chance that the photographer is at a specific place at a specific time, and it is up to them to capture that moment in a way that is pleasing to look at, meaning that photography would also not work without the element pf chance.
Pierre Cordier
Pierre Cordier was born in Brussels, and is considered the creator of the Chemigram process. His passion of Jazz music translated into his photography, creating improvised photographs in the darkroom. During his experiments in the darkroom, he discovered that chemicals such as nail varnish and bleach have strange effects on the film. Pierre Cordier is interested in the idea of photography, without using a camera, and he first discovered the chemigram process when he wanted to make a birthday card for someone he knew. He wrote the message on the card using nail varnish, and when he placed the image in the developing solution, the nail varnish changed form. Cordier doesn't believe that he is a painter, nor is he a photographer, and some other artists have called him a fake painter and fake photographer, however, he does believe that he is an artist, as he created artworks, without a camera, but using photographical equipment.
Making a Contact sheet for 35mm film

After the negatives are developed, contact sheets can then be made for them, so the best photographs can be viewed as a positive image, on photo paper. This is useful as it is easier to tell which photograph is the best when it is positive, and printed can then be made. First, in the case of a 36 exposure roll of film, the film needs to be cut up every 6 frames, into 6 strips. These strips the need to be placed on a film holder. The film holder then needs to be placed under the enlarger. The safe light should be placed in front of the lens, and the aperture on the lens should be stopped down two stops, this is so that less light is let through the lens. The photographic paper should then be cut up into smaller sizes, so less paper is used in testing. The small pieces of paper should be placed under the negatives. When the safe light is removed, the top of the photo paper box should be placed over the other sheets, exposing just one, under the negatives. Different exposure times could be tested using the box to cover the sheet that is not being covered. The first sheet should be exposed for 5 seconds, the next for another 5 etc... By the time all sheets have been exposed for 5 seconds, the one at the beginning will have been exposed for around 20 seconds, whereas the one at the end, for 5 seconds only. The sheets of paper should then go through the developing process. The shutter speed used on the sheet with the best exposure should be used on the final contact sheet, for which, an A4 sheet can be used.
Pinhole Camera
Using a pinhole camera, photographs can be taken on photographic paper, without a lens, through a small hole, which acts as a small aperture, around F 80-100. I made by pinhole camera using an iPhone box, which is good, as it can accommodate a large piece of photo paper, and it is light tight. I painted the inside of the box black, using spay paint. This was so the light doesn't reflect on the inside of the box when it enters through the pinhole, black card can also be used. I then used a knife to cut a square in the middle of the cover of the box, and cut a larger square to place over it, out of an empty drink can. I then used a needle to make a hole in the aluminium. I then used black electrical tape to stick the aluminium square on the box. The photo paper then needs to be cut into smaller pieces, and placed inside the box using double sided tape. A shutter can be made using black electrical tape. A photograph can the be taken with it, by removing the tape covering the pinhole, and counting to 10, in the case of my pinhole camera, however, other size pinholes have different exposure types.
